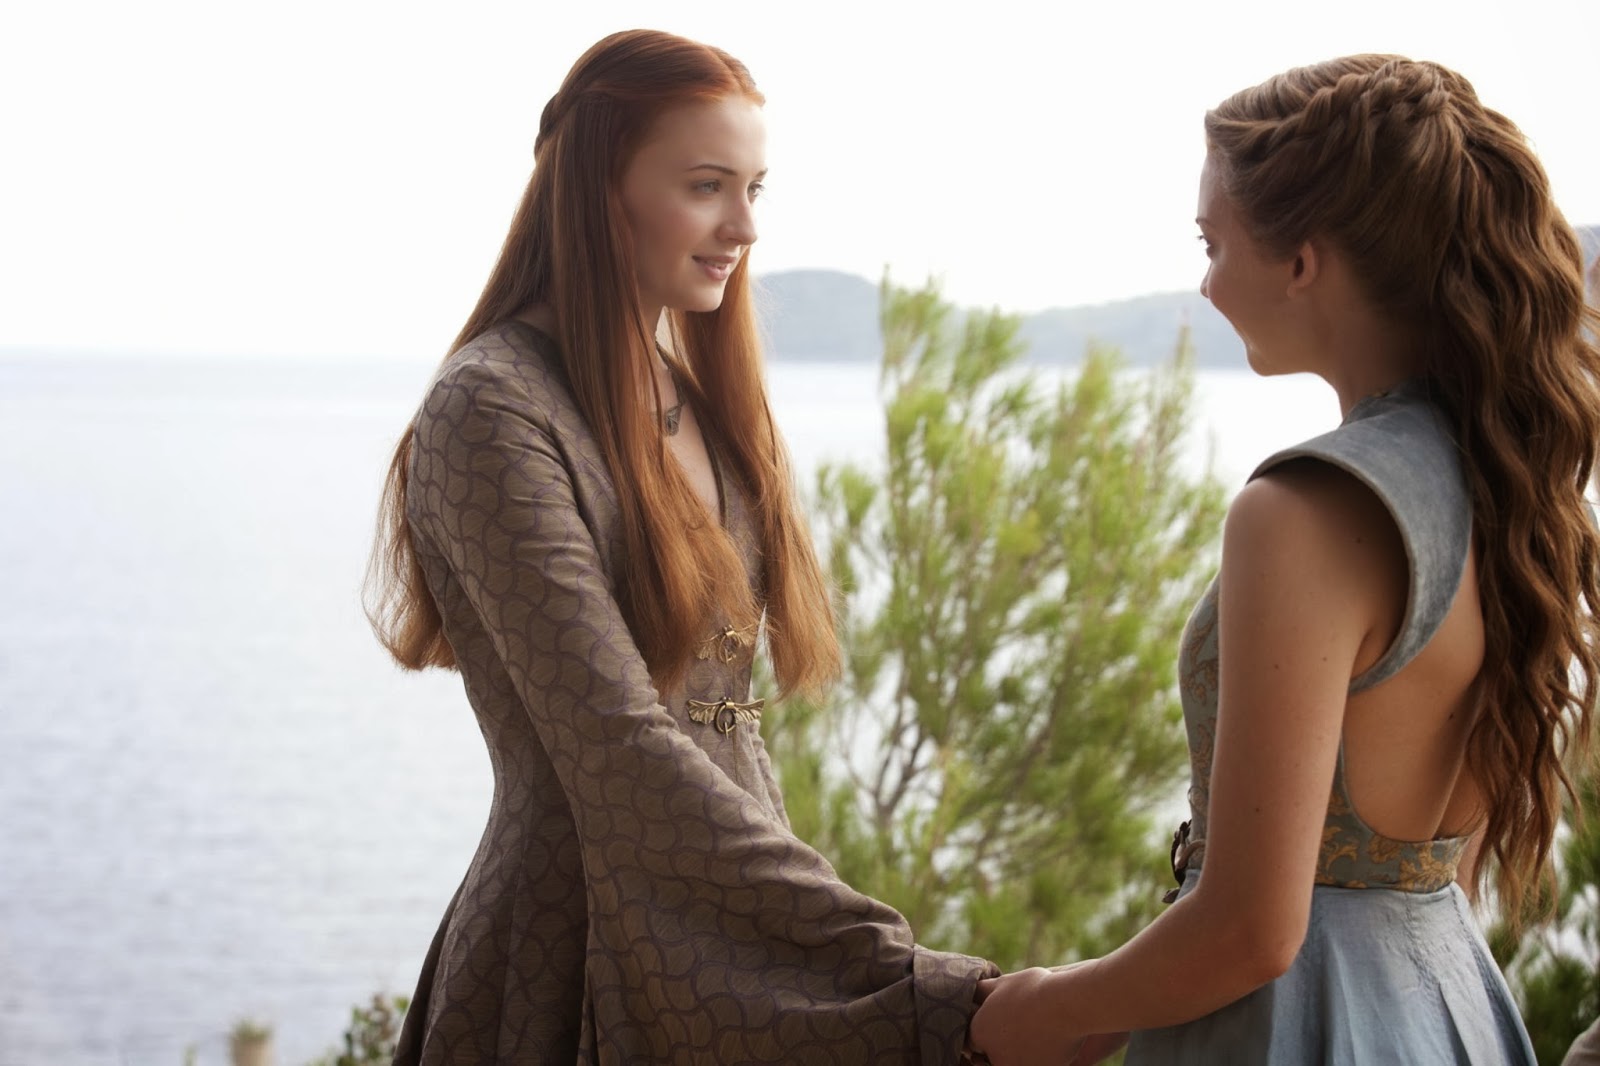
When I found out that Supanova would be bringing a selection of the Game of Thrones actors to Brisbane, I knew what I wanted to be making. I already had one GOT costume as Sansa Stark, but as it was made to be worn in Sydney winter, I knew it would not suit for our November heat in Brisbane. I looked at my list of costumes and decided on Margaery. I love her as a character, and I adore her costumes. The colours are so flattering and the cut is something that I knew I could make suit me. The dress I chose is from Season 3.

My first step was of course, research. I went hunting online for screen caps of the costume that I was intending to make. Thankfully all angles of the costume were filmed. I then went hunting for fabric. I ended up buying most of my fabric online from Pure Silks in India, as I just couldn’t find what I was looking for in Australia. I was incredibly lucky that the colours matched so well, but as always buying online is a guess as best, and you don’t know until they roll up on your doorstep.


I then faced the dilemma of the pattern. The skirt section didn’t phase me at all. I knew I would be drafting up a full 8 gore skirt. In my research, I was able to spot seams in the skirt. I drafted it as full as I could for the fabric. I wanted the skirt to float. I also cut out a petticoat of some stash cotton which would help hold the skirts out from my legs, giving it a nicer drape and providing a level of modesty if the wrap section opened up. This was especially an issue as I didn’t have enough fabric for an extra overlap layer of the outer skirts.
The bodice on the other hand took 4 drafts and mock-ups to get right. I started with halter vest pattern. I took out the length below the waist and drafted down the front to overlap. I then had to draft out the seams. This is what took the longest. Removing the seams yet keeping the shape intact. The one seam that proved the most difficult was at the bust. The bodice needed to support my bust enough that everything would stay in place. I ended up pivoting out the seam as much as I could. In the end, the piece came out really well and provided all the support I needed.
I constructed the bodice in 5 layers. Three interlining layers (the green) with boning. I used cable ties for my boning and in some of the channels doubled them up for extra strength. Then I added the outer layer and the lining layer. In hindsight, I should have used my outer fabric as my lining as well so that I didn’t get any roll, but I wanted cotton against my skin where possible.
The skirt is sewn to the bottom of the outer layers and encased with the lining whip stitched in place. I finished off the bodice closure with a number of hooks and eyes. There is quite a bit of tension on them, but that is what holds the dress in place as well as providing bust support.
Then came the sleeves. I had assistance from my mum with drafting the pattern for these. I knew how I wanted to construct them, but we needed to drape them on my body to see how they fit. We draped paper over my arm and drafted the shape by hand. We redrafted the shape a couple of times to get it sitting right. I then cut out my sleeves from 2 layers of cotton velveteen and 1 layer of buckram. I millinery techniques to make the sleeve.
The first step was to stiffen the outer edge of the sleeve. I did so by sewing millinery wire with an overcast stitch along the edge. I then wrapped the first layer of velveteen around the sleeve and stitched it in place with a stab stitch (small back stitch). Next, I pinned the second layer of velveteen to the sleeve and used a whip stitch to sew along the edges to the first layer of velveteen.
The final step was to work out placement of the hooks and eyes on the sleeve. I added the hooks to the sleeve and had my mum put pins in where the eye would need to be sewn. I made thread eyes out of a matching blue thread so that they would be nearly invisible when worn.
To finish it off, I added some ribbons in place to attach my belt. The belt itself is made from sculpy and wire that has been painted with bronze spray paint. I was lucky enough to purchase the clay rose from a costume jewellery store, and only had to make the branch. I rolled sculpy around a thin piece of wire and shaped it into the curve design. I added the thorns by making small pinches of clay and pushing them on, blending the edges. I then baked my clay. Once cool, I spray painted the lot with the bronze spray paint (I use auto paint). It was fully covered in a couple of light coats. I finished it off with a matte fixative so that the paint would not rub off on my costume.


To complete the costume, I found sandals in the same shade of blue as my costume, and I added a long brown wavy wig. All in all, a success. I am hugely proud of this costume, though was incredibly conscious of my boobs the entire day – checking to make sure I didn’t flash anyone unnecessary. Turns out, I need not have worried – it all stayed in place correctly. Though when I met Lena Hadley, she referred to me as “Mel with the boobs”. But then, that’s Margaery and her costumes for you.


Wow, love how the skirt looks in that last picture, so ethereal!
ReplyDeleteIt's a great photo. As soon as I saw the iron throne available for photos I knew I had to get one too.
DeleteWonderful! {whistful sigh}
ReplyDelete:D It was an absolute bitch to pattern but so worth it.
DeleteWow amazing job, haven't seen a replica so lifelike. Good job!
ReplyDeleteThanks. I's so pleased with how it came out in the end.
DeleteLovely job! It's so hard to get a bodice fitted to support correctly, and you nailed it.
ReplyDeleteThanks. It was a real pain to do and took many mock ups but at least it was worth it!
DeleteThis is the best version I have seen of the bodice. I am trying to make one myself (and also trying NOT to flash onlookers) do you have any other pictures/could you describe where you placed the boning?
ReplyDeleteAw thanks. I don't have any other pictures of the boning, but it's something that was a bit of trial and error. I made about 4 mockups of the bodice before I was happy with it. The idea though, was to push my bust towards the centre, so all the boning is beside my bust. If you stand in front of a mirror and push from the sides you should be able to see where you would want the top to sit. And by putting them in at an angle, I was able to get enough shaping. The front edge needs to be pretty tight as well so that everything holds in place.
DeleteI also wore fashion tape on the day to make sure nothing slipped out, but it was fitted so well that I knew nothing was moving anywhere.
The only thing I would do different is to face the edge of the bodice with the same fabric as it kept trying to roll out and show my lining.
And I will warn you, I did get quite the snarky comments about the amount of cleavage I was showing from some other women at the cons. Maybe they just hadn't seen the show?
Do you have a pattern I could try to use? My mother wants to help me makes this dress, but I can't find a decent pattern anywhere!
ReplyDeleteSorry no. The pattern that I started with was a halter vest. I drafted out all the seams and then had to do about 3 trials out of scrap fabric until I was happy with the shape. You can get the idea of the shape that worked for me from the photo of the pattern piece, but it will definitely be different for everyone. It really depends on your body shape and especially how your bust naturally sits.
DeleteHi, this dress is fantastic and I wondered if you would mind sharing which fabrics you used from puresilks? many thanks!
ReplyDeleteThanks. I had a look at my order history. The brocade that I used is no longer available (I did make this more than a year ago) but there are many other similar ones such as this:
Deletehttp://www.puresilks.us/index.php?route=product/product&product_id=1026&search=blue
I simply chose something that was a similar colour and yet had the gold roses of the tyrell fabrics.
As for the velveteen that I used for the sleeves:
http://www.puresilks.us/index.php?route=product/product&product_id=88&search=Turquoise+Blue+colour
And the skirt fabric:
http://www.puresilks.us/index.php?route=product/product&product_id=3169&search=blue&page=2
oh my god you look incredible how did you get the bodice to fit like that!!! i've never seen anyone else pull off Margaery's bodice without screwing up/making sacrifices with the boning or the neckline in some way, you did an amazing job with this, the dress is perfect and you look just like Margaery, wow!!!
ReplyDeleteThanks. I thankfully have a lot of experience with making corsets and period undergarments, so I knew how to go about boning the bodice to get the right shape without compromising the design lines on the original. I was very determined to get it fitting right and supportive.
Deleteyou are so beautiful!!! I am in love!!
ReplyDeleteWow ! Very beautiful dress ! I made the same dress of Margaery. But I'm not satisfied with my sleeves. I find them very complicated to reproduce. I can not reproduce the good shape. By any chance, would you have kept your sewing pattern from those sleeves?
ReplyDelete