It was a completely productive weekend. After a bit of a set back I managed to get my Edwardian stays pattern completely ready. I stupidly did my first attempt at patterning the wrong way. to be fair, I was following what someone else had suggested and not the way that I would normally go about it. Let me explain.
I am going to be making the 1918 stays pattern from Jill Saleen's Corsets. I photocopied the pattern out and enlarged it to full scale. I taped it together and then set in for some maths. Basically, I measure the bust, waist and hip on the pattern and worked out the difference between it and me (taking into account a 4 inch lacing gap at the back). I the proceeded to split my pattern pieces down the centre and add a panel in a inverted v shape so that I could get more fullness over the hip (where I need it most), through the bust and bit more through the waist. Unfortunately this is a really bad idea because you don't end up adding an exact amount on each section, and instead just spreading the pattern while keeping the proportion the same. I'm not that shape. But I made a mock up - which laced closed and didn't really do anything. So, I took my pattern in a little and did a second mock up. Way way way too small. The back had about a 9 inch gap in the lacing. Colour me un-impressed.
So, I went back to the drawing board and did it my way. (At least now I know what really works for me in the future). I again, measured the corset. Then I measured me. Bust, Waist and Hip. I also measured my waist to bust depth. I compared that to the corset and added an inch between waist and bust to give me the bust support that I wanted. Then came the maths. I measured my back bust, back waist and back hip and took these measurements from the total measurements and then deducted 4 inches for the lacing gap (and weight loss, hopefully). I then divided this measurement in half (as you are only working on half of the pattern). Next, I worked out the difference between the corset and my own measurements. I divided these numbers by two (as there are two panels in the back) to give me how much I needed to add on each piece. I then marked it out on the edge of one side (the ones that would join), and sketched in the amount. I did the same for the front, using my front measurements and deducting the corset size. As there are three panels, I divided the difference by three. I added the excess amount to the seams between Centre Front and Middle Front and Middle Front and Side Front. For the middle panel, I divided the addition by two and added it to each side.
I then added my seam allowance and mocked it up. And it is just about perfect. The only change I need to make is to give it another 1.5cm on the bust at the front so that it its up a little higher, and to extend the boning on the front down about 1 inch to give a bit more of a smooth front. As I am high-waisted, I need the extra length over my tummy.
So, this week, I am planning to make the couple changes on my stays and the get them cut out. But firstly, I have to order my busk and boning. I didn't do this already as I had no idea what lenghts I would need. All in all, was a productive weekend.
Monday, January 16, 2012
Friday, January 13, 2012
Upcoming...
Well, now that we are into 2012, I have to look at what's on my plate next. I have already added a lot of the events that I will be going to this year to my calendar (Supanova, Oz Comic Con, ACG Ball, History Alive). But a lot of those aren't for a while yet. In the meantime, I have been trying to put together a couple of pieces for work (vintage dresses, pants and the like) which has kept me entertained, but now I really need to get a head start on the upcoming months. 'Cause at this stage, April looks almost full to bursting.
March 9th - 11th - Ancients Camping
Hasn't really been confirmed yet, but I am looking at attending an Ancients camping event for a weekend in March. I just need to convince some of my fellow re-enactors to go along with me (hint hint, nudge nudge) I'm not too worried about my costumes as I already have the one that I made in 2010, and the outfits are stupid simple to put together. I would like to have another styled wig though - red this time instead of blonde, so I have put that order in today. Then comes the fun styling part.
March 29th - Vintage Fashion Fair
Thinking that I might just rewear something to the upcoming Vintage Fashion Fair. It's not like I don't have stuff in my wardrobe. I wear it on such a regular basis though, that it is nice to have something different for the fashion fairs. Will have to see how I go time-wise. Who knows, I might become incredibly inspired to put something together.
April 14th - Titanic
The ACG are doing both day and evening Titanic events to celebrate the 100 year anniversary of the sinking. Which means two costumes. I will be starting from the inside and working my way out, so be prepared for updates. I am going to start work on drafting up the undergarments patterns this weekend. Hopefully I can at least get my mock ups done and ready to make the final versions.
As for my gowns, I have made the final decisions, bought the fabrics and ordered the patterns that I am going to base my gowns on.
For my day gown - the lilac fabric is for the base dress, the white voile for the blouse. I am intending to add a bit of insertion lace into it as well. I know I have some in one of my boxes of lace. All I need to complete this is the fabric for the binding and the sash, which I am thinking will be a dupion silk that I can make the hat to match out of.


For my evening gown - green satin (the colour is a little off in the photo) with black lace over the top. And if you look cloesly at the hem of the dress I want to make - tassels! It had me at tassels. I am thinking metalic thread and glass beads for my tassels. But still, tassels!


April 20th - 22nd - Supanova
And that brings me to Supanova. I am going to be re-wearing a lot this year, but as there are so many characters that I desperately want to make, I thought that I would tame myself with just one new one. And my choice this time is Squid Girl. I adore the anime and have been looking for an excuse to make the costume. I have started collecting the fabric (cotton for the dress, interfacing, and lycra to make the shoe covers and arm cuffs). I have also worked out how I am going to do the hair and have purchased my wig, so stay tuned.


I won't go on any further, but after April, the year is getting busier and busier. But I am looking forward to it all. The only thing I have to watch this year is that I don't burn myself out by doing too much. I got horrendously sick in November last year because I was so stressed out about a couple of projects and then adding work on top of that; I was a wreck. This year, I am trying to cut back. It may mean that I have to say no to a couple of events, and just try to rewear a lot of my costumes instead of making something new.
Thursday, January 12, 2012
Retro Tea Time
Wonder of wonders, I have actually done some costuming this year already. Normally we avoid the summer months like the plague as the weather is just too hot. But it seems that we managed to scrape in with some slightly coolish weather to start the year before the heat has really set in. The week alone in Brisbane has been up around 36/38 degrees and it doesn't get much cooler than 27. At any rate, a few of us doled up in retro to take Cherie out for her Birthday last weekend. We went to a lovely little Cafe called Carnivale at Ascot. The decor isn't what I would normally choose for a retro tea, but we were all willing to try out somewhere new, and what a place. The service was fantastic and we really felt like we were being treated like royalty. The food was delicious, and plentiful. And I am fully intending to go back there sometime in the not too distant future.


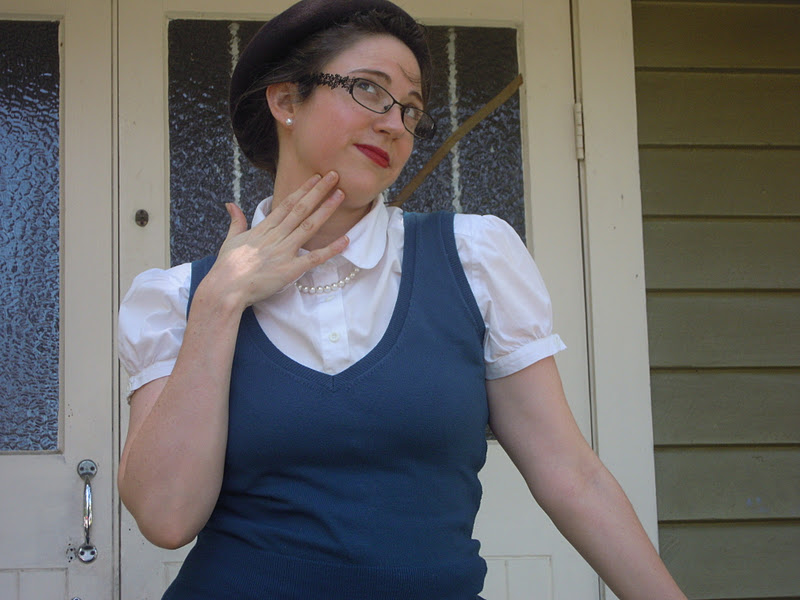
 For the occasion, I whipped up a new vintage outfit. I sifted through my collection of vintage hats and decided that I wanted to make something that would match one of them. This time, I chose my orange velvet 1960s hat. I chose to use a skirt and blouse pattern (simplicity) as I wanted more of a fitted look to go with the hat. A trip to Spotlight saw me set up with a houndstooth for the skirt and a cream polycotton for the blouse. Friday evening, I traced off my patterns, cut out my fabric and got cracking. I did make one change to the blouse pattern though, it was actually designed to be sleeveless, but I didn't really feel comfortable with that, so I drafted up some elbow length puffed sleeves to go with it. I really like how it turned out though, and I may actually make up the sleeveless version at some point. All in all though, I was pleased at how simply and quickly everything came together. And with a fabulous vintage hat on hand, I simply popped my hair into a French roll. Yep, no sleeping on rollers for me.


Wednesday, January 11, 2012
Piratey New Year to you!
The way to welcome in the new year? In pirate style of course!
I again hosted a costumed event to roll in the New Year. This year, I chose to go for a pirate theme. I had out back patio decked out with a hammock, lanterns, gold doubloons, jolly roger and a few edible bits and pieces. We played pirate board games, duelled with our swords, battled with our brains (trivia) and popped our cannons (party poppers). I had to be one of the easiest parties that I have organised in a long time, and it was really great to see so many of my invitees dressed up in costume.


 I did put together a little bit of sewing projects to get ready for the evening. Firstly, I made a pirate costume for my Dad. He borrowed my pirate hat, sword, belt and gun for accessories, and wore his regency shirt underneath. The only pieces that I needed to make were some drop front knee breeches in black linen, a blue Georgian vest and a red waist sash. All in all, it came together rather quickly, and I was able to draft up the patterns from a couple of simplicity ones that I had on hand. I particularly love the buttons that I had in my stash for him - they are a tarnished gold colour with emblems on them. And while they are plastic, they certainly don't look it.


 I knew from the outset that I would be wearing my Tia Dalma costume for the evening, so had no worry over myself. But my mum insisted that she wanted a costume as well. I told her that she didn't need to dress up as my invite specified *costume optional*, but I must be rubbing off on her as she really wanted something appropriate to wear. And at any rate she will be able to wear it when her school does book week and she dresses up each day. We chose to make my mum the proprietress of "The Saucy Mermaid" - our scene of the evening. Her costume was again pretty simple to throw together. I started with the blouse - a cream crinkle cotton, very full that gathers up under the elbows and around the neck (I used elastic to make it easier to wear). I then put together her skirts. Both are made in the Georgian manor, with two halves tying front and back. The underskirt is brown with a feint blue stripe, while the overskirt is a bright blue crinkle cotton. The overskirt is slightly shorter and bustles up at the front with a button and tie. I also lent her my false rump to give a bit more fullness. Then came the waist cinch. Not really historically accurate, but we needed something. It is a simple waist that is straight across the back with a point in the front, where it laces up. I did put a decent amount of boning in it though so that it would actually sit correctly. I topped it off by ragging her hair. This gave me a lovely tight curl that I was able to unravel for a full curly Georgian look. I think it all turned out rather well.

 And I really did have a great evening.
I again hosted a costumed event to roll in the New Year. This year, I chose to go for a pirate theme. I had out back patio decked out with a hammock, lanterns, gold doubloons, jolly roger and a few edible bits and pieces. We played pirate board games, duelled with our swords, battled with our brains (trivia) and popped our cannons (party poppers). I had to be one of the easiest parties that I have organised in a long time, and it was really great to see so many of my invitees dressed up in costume.


Subscribe to:
Posts (Atom)