Sunday, December 4, 2016

How to: 1890s hat

Back in June of this year, I made a new 1890s boater style hat. This one was made out of some lovely turquoise cotton velveteen that I had in my stash. Fortunately, throughout the process, I took a number of photos to show how exactly I made it. And thus, we have a photo tutorial. I should mention straight up, that this is entirely sewn by hand.

1. First off, inspiration image

2. Next up, creating the pattern:

2a. I found a saucer from the kitchen that I liked the size of to be the top piece of my hat. I traced around it.

2b. I then drew another even circle around this for my hat brim.

2c. I measured around edge of the sauce with a tape measure to work out how long the crown should be. I drafted it up as a straight strip and cut it out in paper too.

2d. Once I had all the pattern pieces cut out, I lightly taped them together to test the size, shape and fit of the hat. Yes, I did put this on my head.

3. Pattern Pieces. I then cut out my pieces in buckram, my fashion fabric and mull layer. For the mull, I use a bamboo wadding that I picked up at my local fabric store, but you could use anything. This just give the hat a nice padded finish and helps cover the buckram nicely.

The buckram layer and the mull layer are cut without seam allowance (accept for an overlap on the hat crown), but I added approximately 1.5cm of seam allowance when cutting the fashion layer of the fabric. Make sure to cut two of the brims in the fashion fabric and mull.

4. Creating the hat frame:

4a. I first stitched the hat crown together to make it the right size to fit the top.

4b. Then I whip stitched hat wire to the edges of each piece - around the outer edge of the hat brim, the outer edge of the hat top and both edges of the crown.

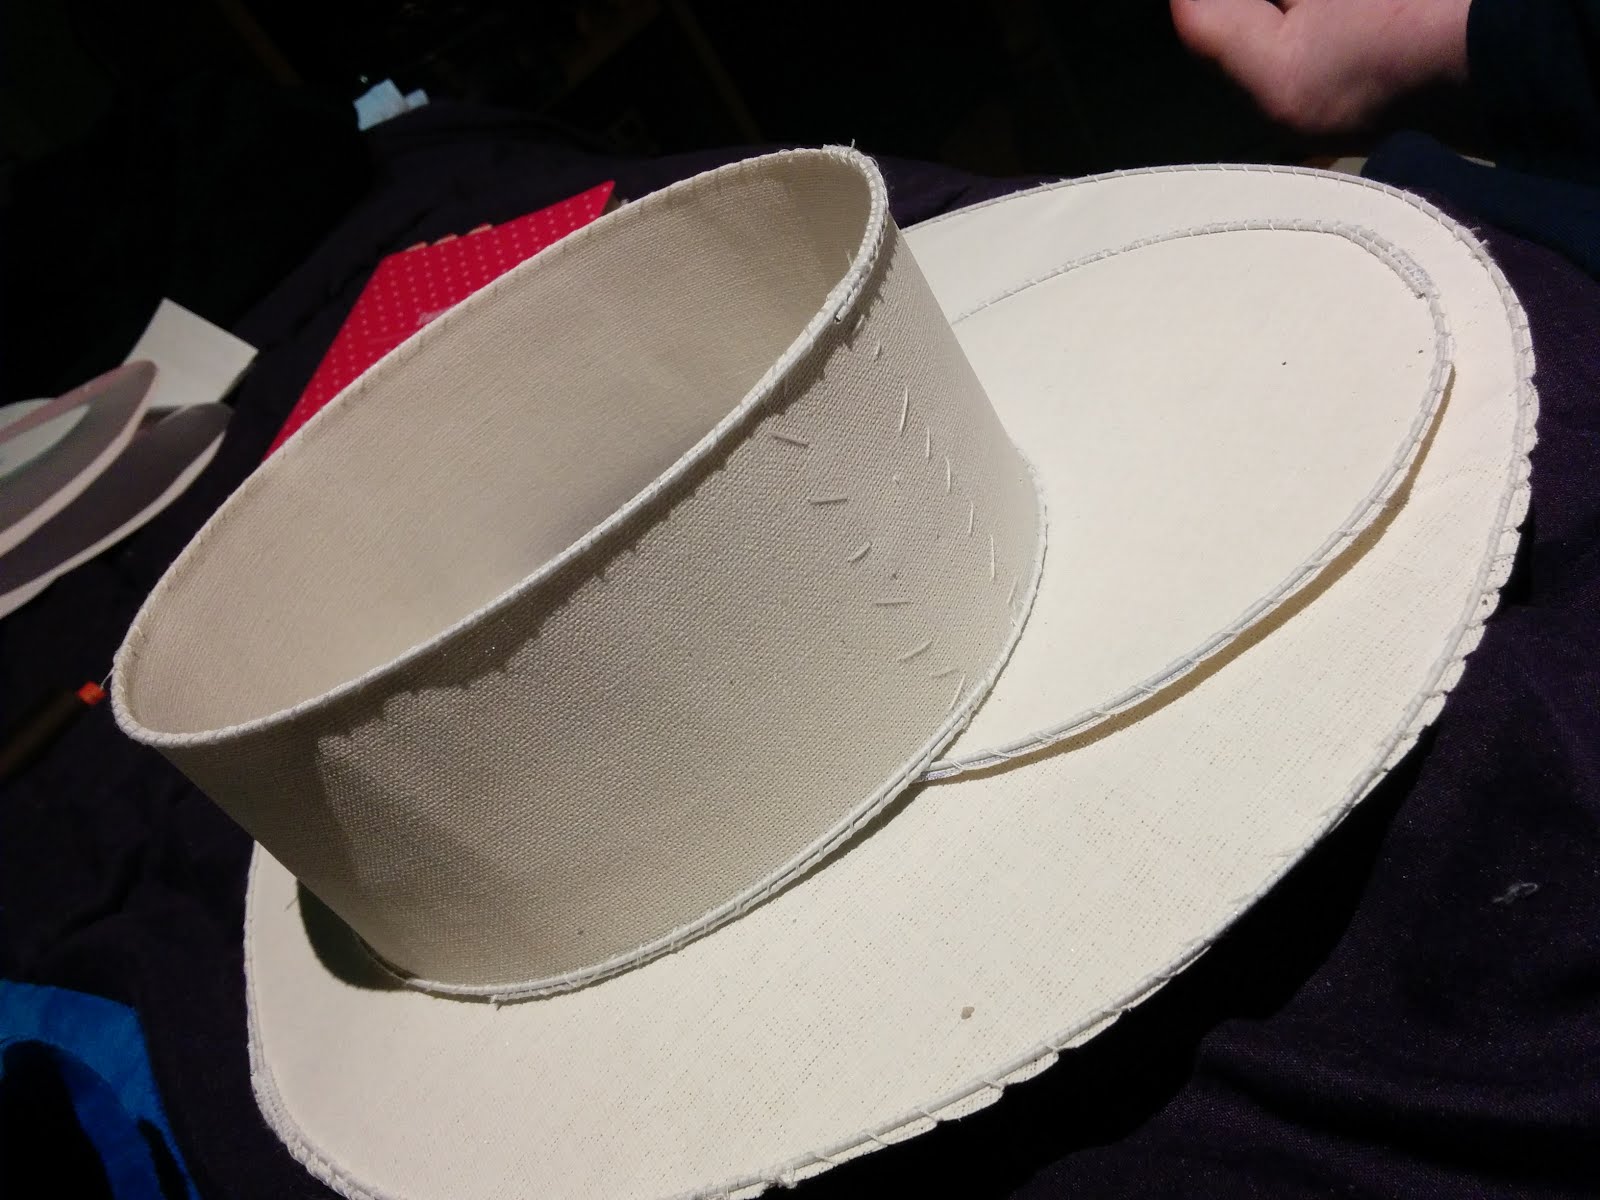
4c. I then sat the hat top on the crown and whip stitched the top to crown.

4d. I then tacked down mull layer over every piece of the hat. I also whip the two edges of the brim mull so that they cover the wire edge as well as the edge where the hat top joins the hat crown.

5. Covering the hat

5a. I then stretched the fashion fabric over the top of the hat and pinned it in place on the sides. Next was to stitch this down with a tight back stitch, removing the pins as you go.

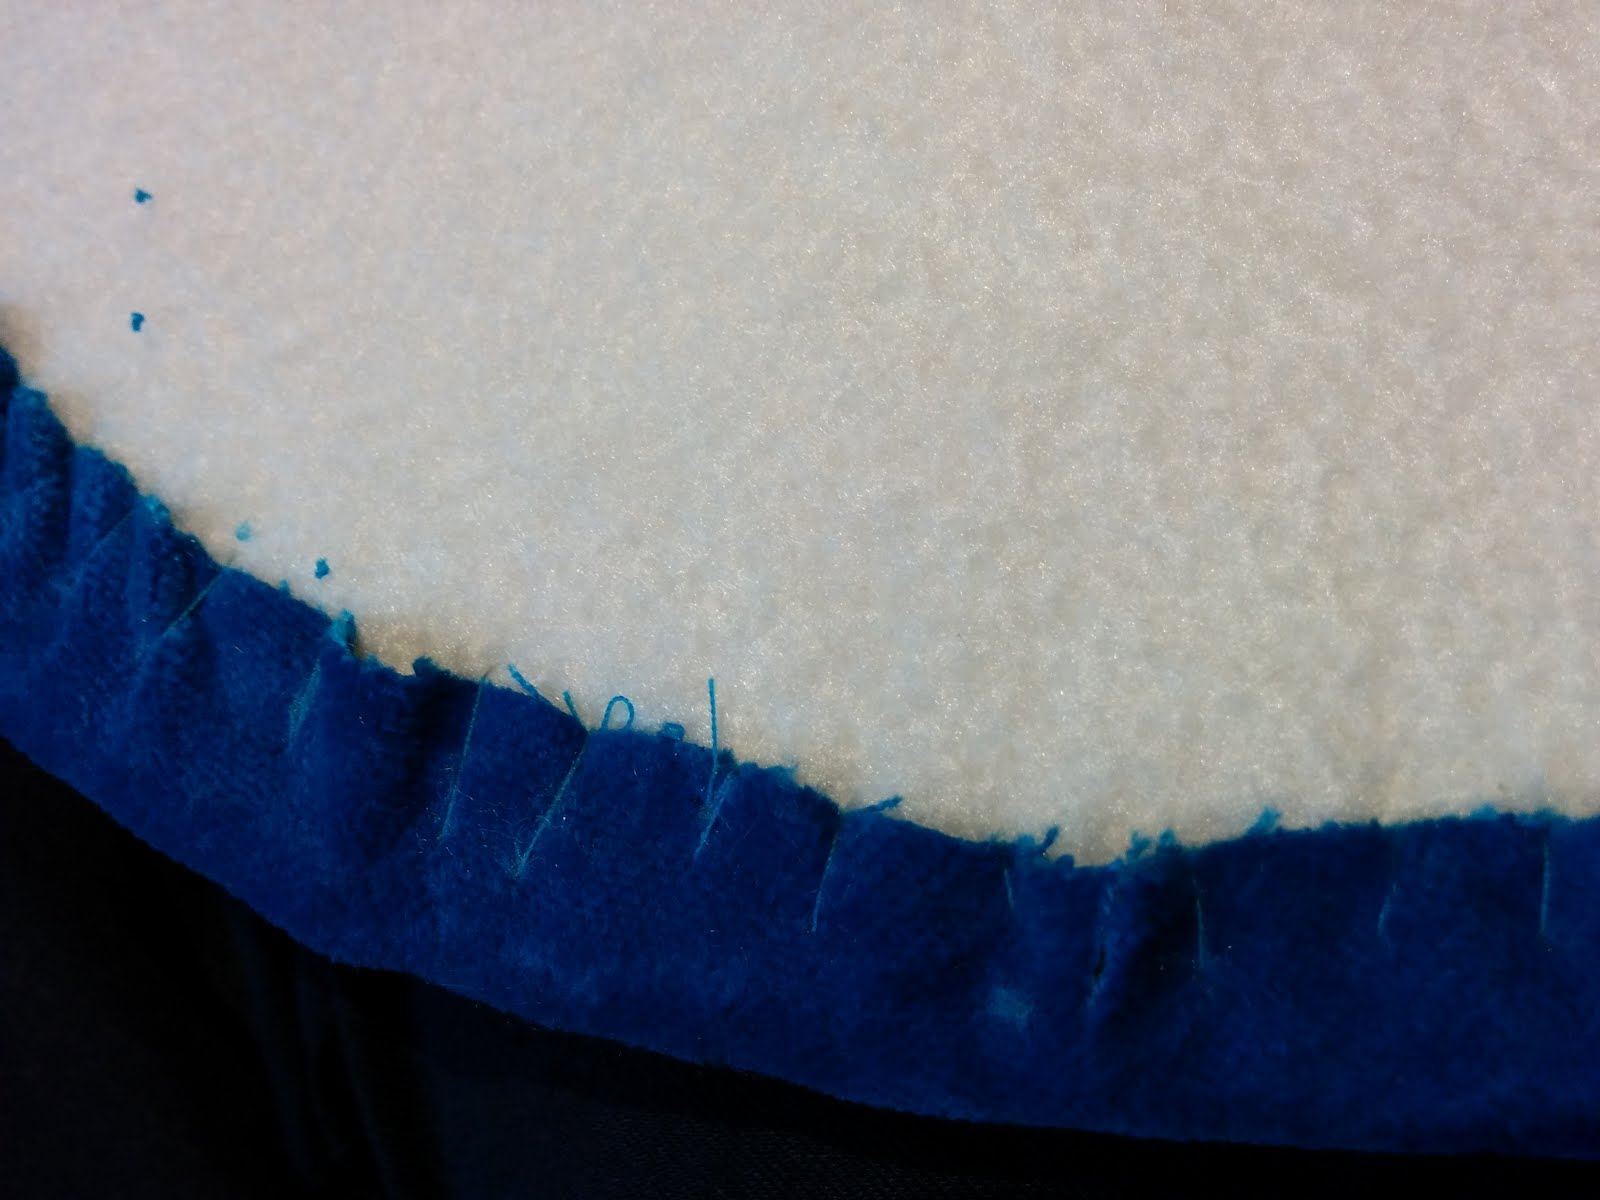
5b. I then lay one layer of the hat brim fabric over the brim frame and pinned it in place. I folded it over to the other side and used a hell of a lot of pins to pin it in place.

5c. Next was to stitch this down to the mull layer with a whip stitch. After stitching, I also snipped in between the stitches to help the fabric lay flat.

5d. I then smoothed over the other side of the brim with the fashion fabric and pinned it in place. Next was to tuck the raw edges under so that the hat edges match and pinned (with many many pins again) in place.

5e. Next I stitched the edges together using a straight whip stitch so that the tiny stitches when pulled disappear as much as possible. These stitches need to be close together to get a good finish.

5f. With the edges of the brim matching, I snipped into the seam allowance of the fabric through both layers.

5g. I then pinned in the fashion fabric hat crown with the raw edge folded under. The centre back is also folded so that you have a clean edge to stitch.

5h. Again, tiny straight whip stitches join the seam.

5i. I then folded the bottom of the hat crown to the inside of the hat and stab stitched it down through all the layers. 

5j. Next is the really fun part. I pinned down the hat brim to the inside of the hat. You want the seam allowance of the brim fabric on the inside of the hat. Then I stitched it down with a stab stitch. I warn you, this is rather awkward. 

5k. I then cut a length of cotton twill tape to fit the inside of the hat. I whipped this in place on the hat brim. You won't be able to see this when the hat is worn. Historically, hats weren't lined in fabric, but you could choose to line yours with a hat crown stitched to a hat top in a cotton and whip it into place where I stitch the twill tape. This is easier (and lazier) to do. 

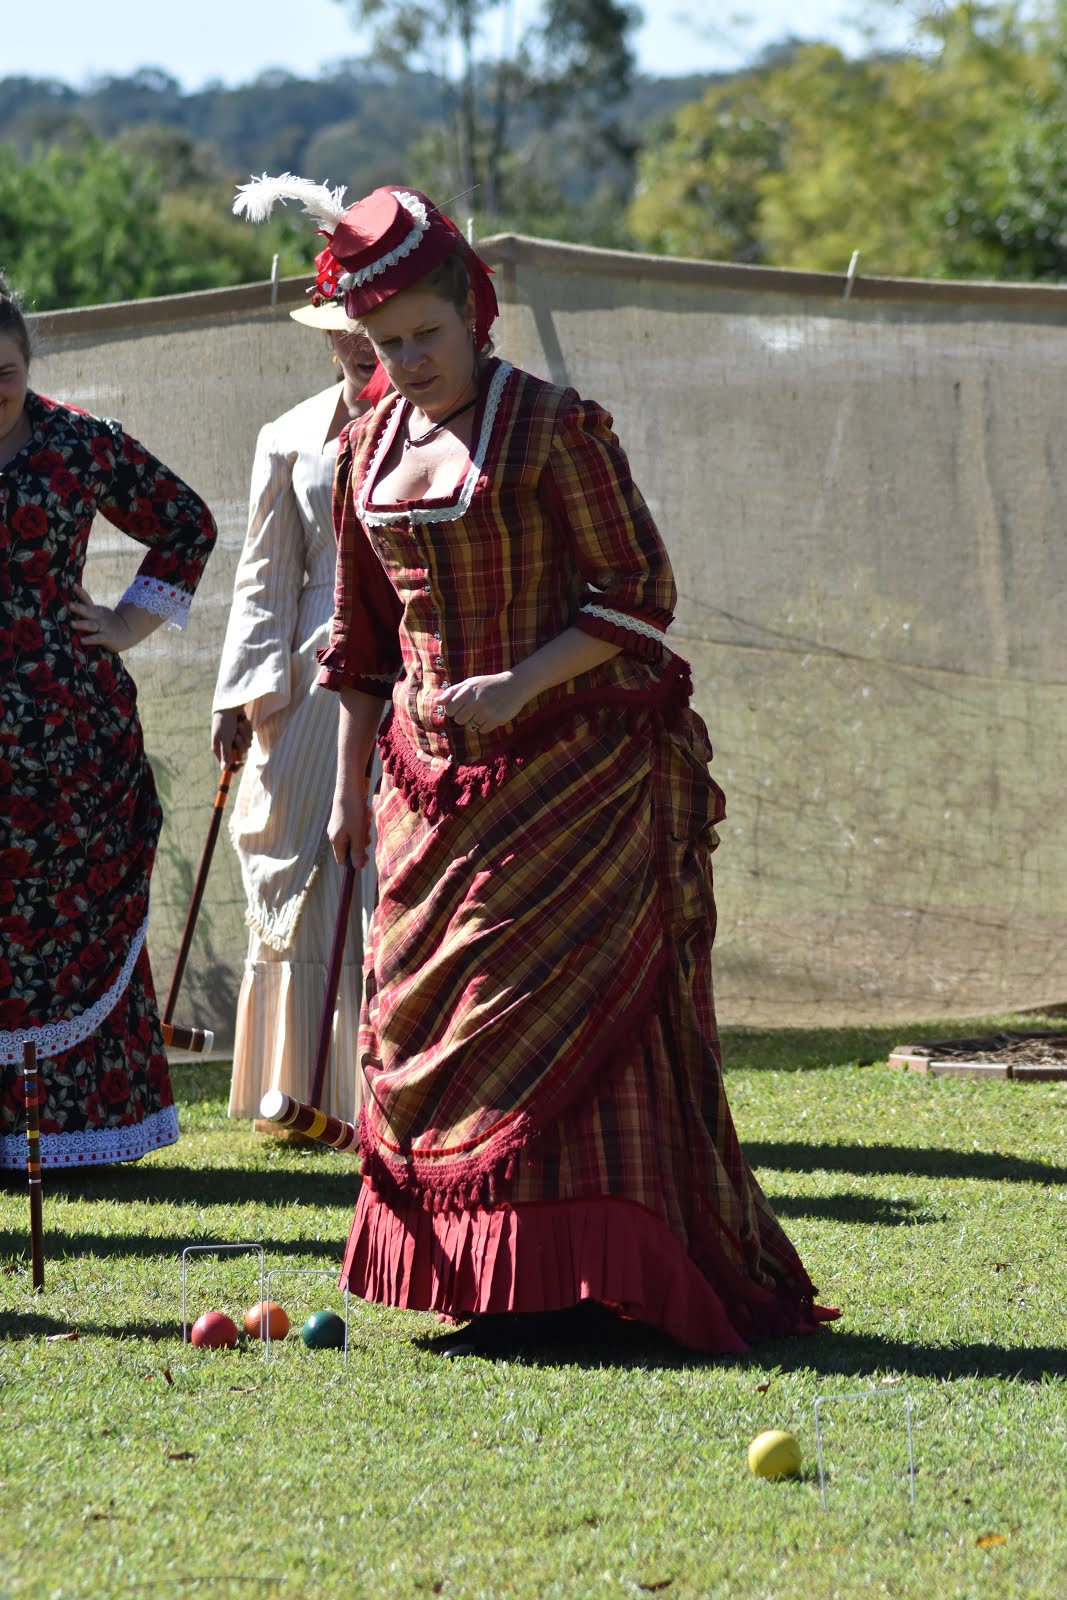
6. Decoration. The last step is to decorate your hat as you see fit. One thing to remember, historically feathers and flowers were both used, but never together. I did have feathers in my stash to match this hat but I decided I wanted to go with the berries look. I had these in my stash and accompanied them with some white flowers. 

The hat then just perches on your hair. I like to go for a jaunty angle. 

Friday, November 25, 2016

OzComicCon hits Brisbane

The next major event that I attended earlier this year was Oz Comic Con Brisbane. It’s a wonderful con to be a cosplayer at – there are panels, photobooths with photographers available, various backdrops to pose against, some of our Aussie cosplay personalities and a repair station. The organisers have really tried to include cosplayers in their planning process. Plus it’s a wonderful con and there are so many amazing costumes on show. Not to mention the cosplay competition which, if you win the Australian leg, will get you sent to the US to compete. Our Aussie winner from last year, Major Sam (and yes a fellow Brisbanite) actually took out the championship with her amazing Sikozou Necromancer Juliette.

Some of my fellow cosplayers:


Unfortunately it turned out to be a swelteringly hot September weekend, which made costuming quite the challenge. It’s only a two day con, but I spent quite some time in the lead-up flip-flopping about what I was going to wear. I had one brand new costume lined up but was planning to re-wear the other day.

In the end, it turned out to be a bit of a Disney weekend. First, I pulled out Periwinkle from Disney Fairies to wear on Saturday. It’s one of my cooler costumes and I love wearing the wings with it. My bestie Gael Storm quickly threw together a Rosetta as well so that we could pair it up for the weekend. And while she was working that afternoon and night, we did manage to find some time to take a few photos in one of the gardens around the carpark. I’m particularly in love with the ones that I snapped of her Rosetta.


Then on Sunday, I joined a group of fellow cosplay ladies with our mash-up cosplay of Hogwarts and Disney. Or Hogney if you prefer. Basically we each chose a Disney character and sorted them into a house. My love of Lottie from the Princess and the Frog made me desperate to turn her into a Hufflepuff student. I put my own spin on the uniform and made a 1920s style slip dress out of linen and velveteen. Paired it up with a blouse and tie, cloche hat and topped it off with home puff robes. I adore how this turned out. And we got some great group photos by the amazing Rebecca Burton.


All in all, I had a fantastic weekend which inspired me to get cracking on more costumes. Unfortunately there was only six weeks until the next one and my original plans were a bit too ambitious with me working full time. But I did put together something new. All in due course.

Tuesday, October 18, 2016

A Victorian Birthday Bash

Back in July, I attended a rather significant Birthday Party for one of my re-enactment / costume friends. She had decided to host a Victorian Tea Party.


The day was filled with sweets and savouries, tea and punch, chatting and croquet. We all had a splendid time and it was lovely to see friends that I hadn't seen for some time. And everyone looked beautiful. We all pulled out the stops and dressed up in our victorian bustle finery for the day. Oh and in case you are wondering, the red tartan bustle is indeed mine (I loaned it to the lovely Christine to wear for the day as she hadn't been able to make something in time).


The croquet battle begins...

For the occasion, I finally finished my late 1860s Bustle. The bodice design and hat come one of my Frances Grimble pattern books. The skirt is of my own drafting, while the apron is butchered from a Truly Victorian pattern. The beauty of this whole outfit is that it was made entirely from stash fabric. The main floral fabric was originally an 1830s day gown that I made a few years back. I hated how the dress looked on but I loved the fabric so much I wanted to re-use it. I pulled the dress apart and it sat there for a few more years until I finally decided what to do with it. I had enough fabric for a bodice, apron and skirt trimmings.

And boy did I go to town on the trimmings this time. The skirt has a pleated trim, and then a gathered rouche (which is straight off the old 1830s dress) with bias trimmings. The skirt is made from a soft hailspot white rayon, which I also carried throughout the costume for it's trimmings. The apron is trimmed with the same pleating from the skirt, blue velvet ribbon, tiny lace and silk ribbon bows. And it's all carried through to the bodice with lace sleeve ruffles, tiny lace trimmings, velvet ribbon and more silk ribbon. I also took the time to make a balayeuse (or dust ruffle) for my skirt. It was the first time making one, but I will definitely be doing them for my trained dresses in future. This one is made of scrap cotton with scrap cotton ruffles and a bit of scrap laces. It's quite pretty but it is also functional. It helps keep the train of my dress out beautifully, and it simply buttons on so. It worked a charm and just went straight into the washing machine saving my skirt from any dirt.


Now, I don't have any close up photos of the costume worn. At the time, I was about 4 days out of dental surgery. I had all four of my wisdom teeth out at once and puffed up big time. There was even some charming yellow bruising going on. Needless to say, I couldn't eat anything at the party, but it was still lovely to socialise. (I'm in the first photo on the very end). But I will definitely be getting some photos the next time I wear this.