Next on the agenda is a corset tutorial. I know a lot of cosplayers are confused about corsetry and how you would go about making your own corset. For a start the advantages in making your own is that it will be custom fitted to your shape, meaning that it has the potential to be the most comfortable corset ever. It will also flatter your figure and work with your body type. So if you have a low waist or high waist (like me) making your own corset may be the way to go. And while it can seem daunting, it's something that you can learn. I certainly have. My first corset, back in 2007 was straight from a simplicity pattern. It didn't fit too great but I'm glad that I made it because it set me on the path to making many corsets that I love wearing.
The latest, an 1890s corset. And for you, a full tutorial of how to go about making a corset. I hope this helps. And please keep in mind that the same principles apply for making most periods and shapes of corsetry.
PATTERN:
In this instance, I chose to use a pattern from a historical costuming book which is made of patterns taken from extant museum pieces -
Jill Salen 'Corsets'. The particular corset I chose is called "The Pretty Housemaid" and is an 1890s corset. I chose this particular one as I needed a new corset for my suffragette costume.
When making a corset you need to take into account the final silhouette that you are trying to achieve. Different periods give completely different shapes which can also be especially important for character costuming.
First up, I photocopy out the corset from the book so that I have something to work with.
Next, is sizing up the corset. Measure yourself at bust, waist and hip. It can also help to know the height between bust waist and hip however you may just prefer to adjust this after the first mock up.
I blow up the pattern pieces to match the scale and then measure each piece at bust, waist and hip. These patterns have no seam allowance, so at this point it is a simple edge to edge measure. I then deduct 10cm from each of my measurement (lacing gap and squish allowance) and divide the measurements in half (as you are drafting only half of the corset). I then work out the difference and divide this amount amongst the corset pieces. I try to aim for an even devision.
I then draft this onto my photocopy pieces and add in seam allowance. To ensure that the horizontal points of each pice match, measure straight out from the point and then redraw the bottom or top edge.
To size up the hip piece, I slashed and spread the pattern. This ensures that the angles of the edges do not become skewed.
MOCKING UP
A mock up is where you test your pattern with some scrap fabric to make sure that it is correct. You don't want to waste your pretty fashion fabric, and it can take a few mock ups to get the pattern correct. I use leftover scraps from previous projects to do my mock up. The most important thing is that you do not use fabric with any stretch or give. A corset should be structured.
I cut out each pattern piece and run them together. I generally do two layers so that I have enough fabric to make some quick boning channels. I put some pieces of boning in each one (generally cable ties) so that I can get a good idea of how the final corset will fit and provide support.
To lace the corset, I sew in a lacing piece that I use on each mock up (photo below). It is simply a piece of twill fabric with eyelets and lacing.
I then make marks on the fabric of my mock up with a texta of the changes that I need to make to my pattern.
I then revise my pattern and if necessary do another mock up. I believe in this particular case, I did two mock ups before I was happy with the pattern. However I have in the past had to do four mock ups until I was satisfied. Sometimes the pattern will squish me more than I anticipated and I will need to take it in. But that's why you do mock ups!
Once I am happy with my pattern I then cut out my fabric. I cut:
- 1 pair of each pattern piece in outer fabric
- 1 extra pair of the centre back and centre front patterns in outer fabric
- 1 pair of the remaining pattern pieces in your lining fabric
- 2 pairs of each pattern piece in a firm cotton fabric (I sometimes use cotton scraps as this layer won't be seen)
MAKING UP - INSERTING A SPLIT BUSK
Victorian corsets use split busks for the front opening and support. In this instance I am using a spoon busk which provides more stomach support - great if you have flabs and not abs ;) but the same technique will work for a straight busk.
Get your centre front pieces and split them up so that you have each side. Layer the pieces with the right side of the fashion fabric facing the right side of the fashion fabric lining. Then layer a piece of the cotton interlining on the outside of each.
Then working with the tab side, place it along the edge of the lining for the right side and draw a line marking the edge of each tab. Line up the fabric and stitch the seam, stopping and back tacking where marked. On the left side, stitch a straight seam with no stops.
Open out the right side piece and finger press the seam open. Slide the busk in place between the seam and fold over to close.
The busk tabs will now be sitting on the outside of the seam.
Pull the fabric taught and pin in place along the edge of the busk. This is where you will now stitch the busk in place.
Using a zipper foot, stitch along the edge of the busk.
For the left side, line up where you want the busk spikes to sit and mark each place.
Using an awl, push through the fabric to create a hole to insert the busk. You should never cut a hole as it weakens the spot. And awl will push aside the threads and maintain strength.
Fit the busk in place but pushing the spikes through each hole. And then as before, use your zipper foot to stitch alongside the busk.
You have now inserted the busk and can move onto creating the rest of the corset.
MAKING UP - PANELS AND CHANNELS
Next, I sew the panels together - the single lining layer by itself and the fashion layer with the two interlining layers sitting flat against the wrong side.
I then go through each one and stitch down the seam boning channels. I do so by pushing the seam allowance under and topstitching the width of my boning (plus a smidge of room to fit it).
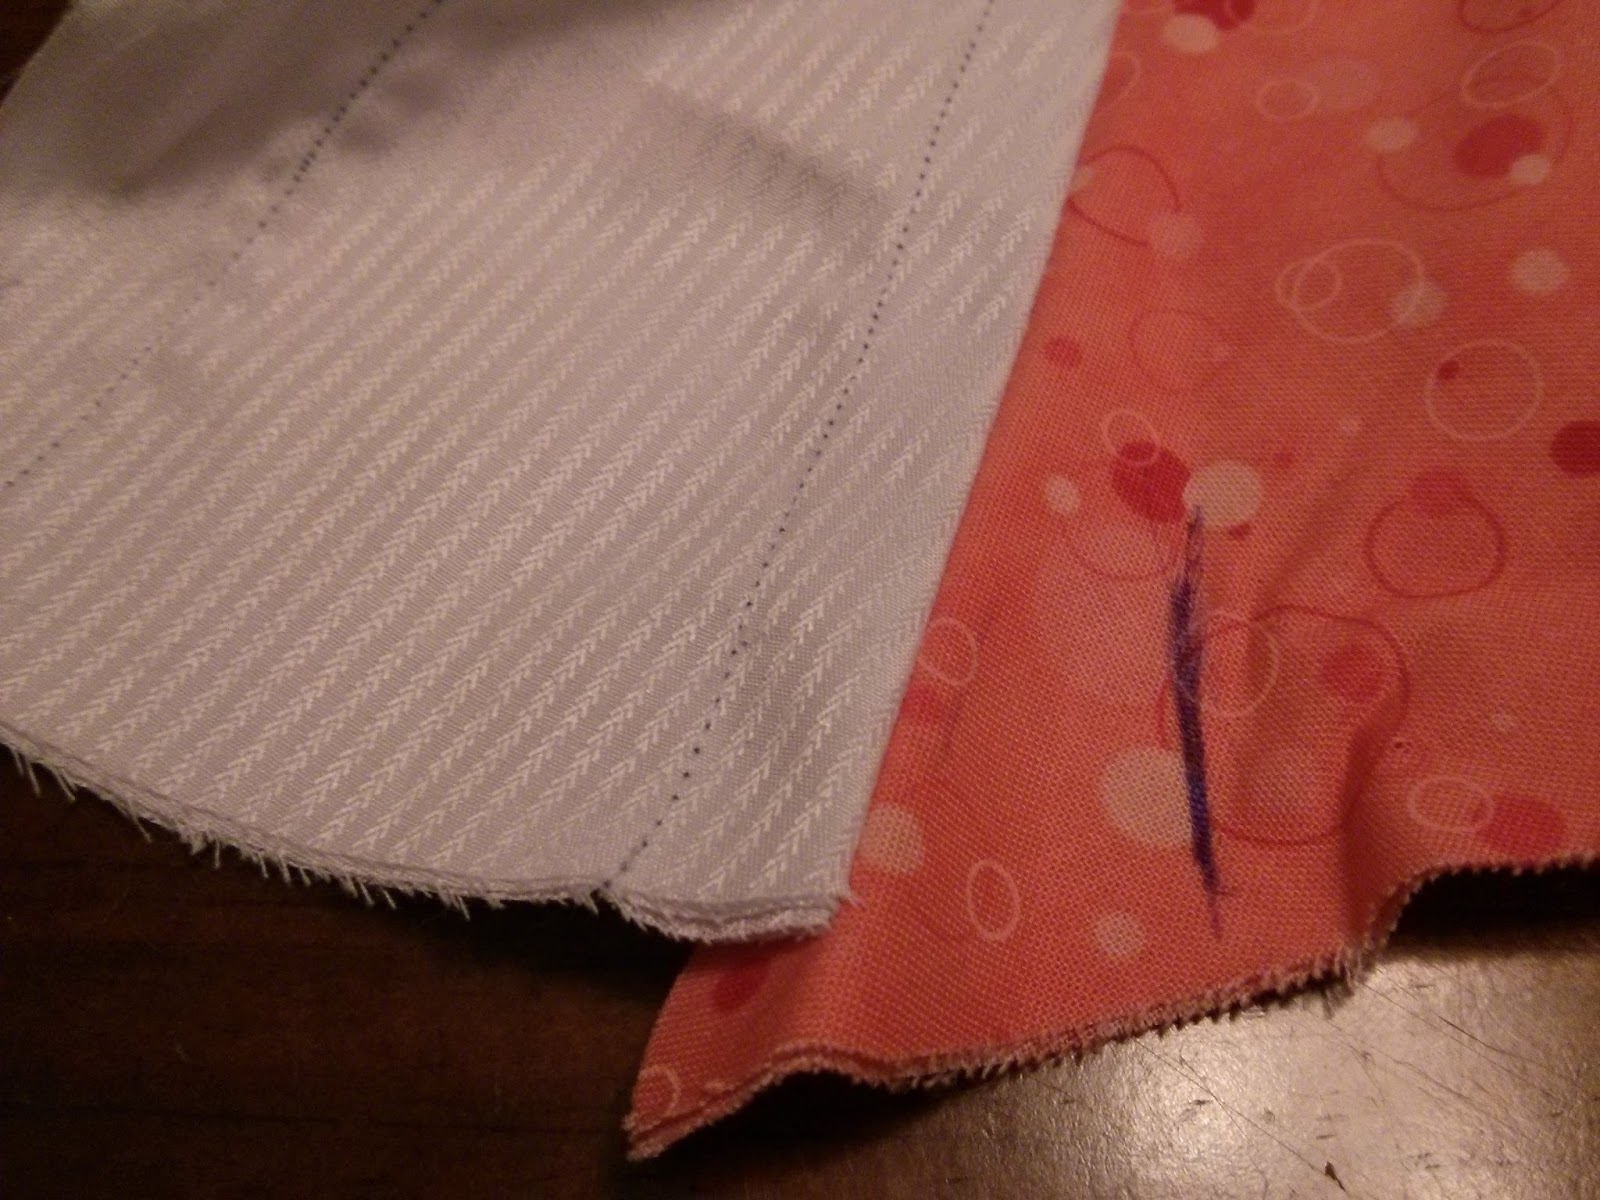
I then go in and add the remaining boning channels. I like to add a length of cotton behind each extra boning channel to give it a bit more fabric between the boning and myself. This is my personal preference and not required. However, you may actually need to do this if like the second image, your boning channels cross seam lines.
Next up, I sew the centre back panels together with the fashion fabric right sides together and the lining fabrics on the outer. I then open up the seam and understitch the seam allowance to the inside.
I then press the pieces back together and stitch the outer boning channel and then the eyelet channel.
Next, I attach the centre back piece to the middle section, making sure to keep the lining out of the way of the seam. I do the same with the centre front and then add in the remaining boning channels.
MAKING UP - WAIST TAPE
The next step is what helps keep your corset in shape and firm - the waist tape. I use a firm cotton twill tape that is about 2 - 3cm wide. You simply stitch it in from the back panel, laying it across the waist level of the corset and in place again in the front panel. I simply back stitch over where it sits matching up the stitching with the outer boning casing.
MAKING UP - LINING
Next, I lay the lining with the right sides to the lining of the centre front and back and stitch the seam. Turn the corset right side out and line up the edges and seam allowances. I generally pin this running the pins towards the edge for the binding to be sewn on.
MAKING UP - BIAS BINDING
There is nothing more professional on a corset than having matching bias binding along the top and hem. And it really is simple to make your own.
Simply lay out your fabric and fold one corner down to meet the other salvage. This will give you the perfect 45 degree bias angle. Measure 7cm from the folded edge and cut strips(also cut along the fold).
Next you need to join your strips so that you have one continuous length. The ends of your strips will each have a 45 degree angle. The easiest way to get this right is the line them up on a flat surface with the right side up, then flip the right strip down so that the edges match and stitch along the seam.
Open out, and press the seam open.
Next, fold the strip of bias in half and press again. This will give you one raw edge and one folded edge.
Sew the folded edge of the bias binding down along the bottom edge of your corset, using a 1cm seam allowance and making sure that you catch the lining in as well. This is why I pinned it together earlier.
Wrap the bias around the seam to the inside and whip stitch the folded edge in line with the row of stitching. At the ends, fold in the fabric and stitch up with a tiny ladder stitch.
MAKING UP - EYELETS
I next work on the eyelets. While you can choose to use larger eyelets, I prefer the smaller ones as it allows for closer lacing and the eyelets are less likely to pull out.
I mark out where the eyelets will be going with pins first so that you can move and shuffle them around to your hearts content. I tend to go for 2.5cm - 3.5cm apart for each one. I then mark out each eyelet hold with a pen.
Now comes the fun part. Use your awl to gouge out a hole. Again, you don't want to cut the hole as this weakens the fabric and may cause the eyelet to pull out eventually.
Push through the first side of the eyelet, add the top and hammer together using the eyelet press which should be provided with most kits. I use a piece of hardwood covered with a cotton tea towel to hammer onto. If your timber is too soft, the eyelets will leave holes in it and you will have trouble getting them out (learnt this the hard way). The piece of cloth over the hardwood is so that the fabrics don't accidentally catch. Bash in all your eyelets.
MAKING UP - BONING
I use a combination of boning - sprung steel, plastic boning and cable ties. I buy my steels and plastic boning from corset supply shops, but the cable ties come from JayCar who sell long heavy duty ones.
Cut your boning to length, sand back your corners (the plastic stuff) so that they are rounded (to keep them from working through the fabric and jabbing you in tender places later) and insert into your channels.
Repeat the binding process on the top of the stays making sure that you stitch carefully so that you don't catch any of your boning with your machine. It's a great way to break a needle and send it flying.
LACING
The final step is lacing the corset up. Make sure that you choose a strong cotton lacing that grips well. Ribbon will not cut it and especially satin ribbon which will slip when you try to lace in.
I mark out with a pin where the waist of my corset is. This is where the lacing will form "bunny ears". We use the bunny ears when lacing so that you are pulling at the waist to lace rather than top to bottom. It is much easier to lace yourself when you pull from the top down and the bottom up to the waist. Then it is simply a matter of cross lacing your cord down.
When you get to the waist, don't cross over and instead go down one and then keep crossing to the bottom. Knot off the bottom, and you are done.
AND THE FINISHED PRODUCT:
Gotta say, this is the most comfortable corset I have ever made for myself. It gave me no trouble at all wearing it all day and I really love the shape it gave me. It helps that I made if for my bust as it is now unlike my older corsets which no longer fit because I have had a bit of a growth spurt in the bust.
I am planning a new straight seamed Victorian corset soon, so will document it as well to show that these principles really do apply across all corset building. I hope this helps people understand that corsets aren't really that hard to make. It's all about getting the fit right and making something that works for you.