Wednesday, November 27, 2013

How Margaery Tyrell came to life

When I found out that Supanova would be bringing a selection of the Game of Thrones actors to Brisbane, I knew what I wanted to be making. I already had one GOT costume as Sansa Stark, but as it was made to be worn in Sydney winter, I knew it would not suit for our November heat in Brisbane. I looked at my list of costumes and decided on Margaery. I love her as a character, and I adore her costumes. The colours are so flattering and the cut is something that I knew I could make suit me. The dress I chose is from Season 3.
My first step was of course, research. I went hunting online for screen caps of the costume that I was intending to make. Thankfully all angles of the costume were filmed. I then went hunting for fabric. I ended up buying most of my fabric online from Pure Silks in India, as I just couldn’t find what I was looking for in Australia. I was incredibly lucky that the colours matched so well, but as always buying online is a guess as best, and you don’t know until they roll up on your doorstep.
I then faced the dilemma of the pattern. The skirt section didn’t phase me at all. I knew I would be drafting up a full 8 gore skirt. In my research, I was able to spot seams in the skirt. I drafted it as full as I could for the fabric. I wanted the skirt to float. I also cut out a petticoat of some stash cotton which would help hold the skirts out from my legs, giving it a nicer drape and providing a level of modesty if the wrap section opened up. This was especially an issue as I didn’t have enough fabric for an extra overlap layer of the outer skirts.

The bodice on the other hand took 4 drafts and mock-ups to get right. I started with halter vest pattern. I took out the length below the waist and drafted down the front to overlap. I then had to draft out the seams. This is what took the longest. Removing the seams yet keeping the shape intact. The one seam that proved the most difficult was at the bust. The bodice needed to support my bust enough that everything would stay in place. I ended up pivoting out the seam as much as I could. In the end, the piece came out really well and provided all the support I needed.
I constructed the bodice in 5 layers. Three interlining layers (the green) with boning. I used cable ties for my boning and in some of the channels doubled them up for extra strength. Then I added the outer layer and the lining layer. In hindsight, I should have used my outer fabric as my lining as well so that I didn’t get any roll, but I wanted cotton against my skin where possible.
The skirt is sewn to the bottom of the outer layers and encased with the lining whip stitched in place. I finished off the bodice closure with a number of hooks and eyes. There is quite a bit of tension on them, but that is what holds the dress in place as well as providing bust support.

Then came the sleeves. I had assistance from my mum with drafting the pattern for these. I knew how I wanted to construct them, but we needed to drape them on my body to see how they fit. We draped paper over my arm and drafted the shape by hand. We redrafted the shape a couple of times to get it sitting right. I then cut out my sleeves from 2 layers of cotton velveteen and 1 layer of buckram. I millinery techniques to make the sleeve.

The first step was to stiffen the outer edge of the sleeve. I did so by sewing millinery wire with an overcast stitch along the edge. I then wrapped the first layer of velveteen around the sleeve and stitched it in place with a stab stitch (small back stitch). Next, I pinned the second layer of velveteen to the sleeve and used a whip stitch to sew along the edges to the first layer of velveteen.
The final step was to work out placement of the hooks and eyes on the sleeve. I added the hooks to the sleeve and had my mum put pins in where the eye would need to be sewn. I made thread eyes out of a matching blue thread so that they would be nearly invisible when worn.
To finish it off, I added some ribbons in place to attach my belt. The belt itself is made from sculpy and wire that has been painted with bronze spray paint. I was lucky enough to purchase the clay rose from a costume jewellery store, and only had to make the branch. I rolled sculpy around a thin piece of wire and shaped it into the curve design. I added the thorns by making small pinches of clay and pushing them on, blending the edges. I then baked my clay. Once cool, I spray painted the lot with the bronze spray paint (I use auto paint). It was fully covered in a couple of light coats. I finished it off with a matte fixative so that the paint would not rub off on my costume.
To complete the costume, I found sandals in the same shade of blue as my costume, and I added a long brown wavy wig. All in all, a success. I am hugely proud of this costume, though was incredibly conscious of my boobs the entire day – checking to make sure I didn’t flash anyone unnecessary. Turns out, I need not have worried – it all stayed in place correctly. Though when I met Lena Hadley, she referred to me as “Mel with the boobs”. But then, that’s Margaery and her costumes for you.

Monday, November 25, 2013

Treasures from the Silk Road

What a weekend. All I can say is, it’s a good thing I am back at work so that I can relax. I had quite the hectic weekend. From hosing a Tupperware party, buying a replacement laptop (ouch on the pockets) and going to the movies to seeing an orchestral performance of gaming music and a trip to the museum. While the former was wonderful (apart from the expense of a new laptop), it’s the latter that I am here to talk about. And in specific, dressed up for.
A few months ago, the exhibition Afghanistan; Treasures from the Museum of Kabul came to the Queensland Museum in Brisbane. I decided, it would be another occasion for the costumers guild to go and check it out. We decided on 1920s fashion as it was a period where western society was influenced and fascinated with “exotic” cultures. While we could have gone with an open theme for our costume choice, it’s nice to be there in a cohesive style of clothing.
The exhibition was amazing. The premise is that the Museum of Kabul was prey to Taliban bombing and most of its precious artefacts were either destroyed, damaged or stolen. Then, in 2005, vaults were opened in the palace to find stored pieces of treasure from the museum. Safely packed away. It was a huge discovery for the curators in Kabul. It means that the people were given back their culture. And I have to say it is a very beautiful culture. There was no photography allowed in the exhibition (a common thing), so I didn’t get any shots of the artefacts. Though, I have found a couple of photos of the pieces that we did see for you:
The items themselves come from the Silk Road. It’s part of Asia that was conquered many a time from Alexander the Great to Genghis Khan. And as a result of the merging cultures, the pieces from this area a very unique. When you think back to ancient times, there always seems to be a clean cut between Greek / Roman / Indian / Egyptian culture. But in this area, there is a beautiful blending in art pieces. Images and statues of the Greek gods, done in Indian and Asian styles. It is truly incredible.

If you are in Brisbane, and can make it along to the exhibition, I highly suggest you do. It is well worth it. Be warned though, check the website for the running times and it is a timed event, so you will need to book ahead.

As for our outfits, as I mentioned before, we did the 1920s thing, and took a few snapshots in the foyer.
Mine, was a new piece. I love the fashion of the 1920s, but the low hip straight dresses are not the most flattering on me. So, this time, I looked to the beginning of the 1920s, where the waistline has not necessarily dropped, but the hemlines are starting to raise, haircuts are becoming shorter and draping very important. I found a few images of the sort of style that I would like my dress to bee and took it from there. I drafted up a pattern, mocked up the bodice to make sure I had it right and got onto it. My fabrics are a sheer silk cotton for the outer-dress with details of Swiss voile used for the cuff and collar. The slip underneath is also made of the Swiss voile. It’s finished off with a silk dupion sash and a purchased paper hat, decorated with silk ribbon and paper flowers. I’m rather pleased with how it turned out. In the end becoming quite delicate. And I am thinking I might even make a coloured slip to wear underneath for a different styling option.

Thursday, November 21, 2013

How to Dream of Jeannie

Earlier this year, I learned that the beautiful Barbara Eden would be a guest at the Gold Coast Supanova. I was over the moon and decided that it was high time I made my I Dream of Jeannie costume. I had most of the fabric sitting my stash just waiting for the day when I would make it up.

Now, while most people dream of being Jeannie with her pink suit and blonde hair, I have always loved her twin sister Jeannie who likes to live on the slightly evil side of life. My first step was research. I found as many screencaps of the original costume as I could, I looked at how other costumers had made their versions of the ensemble and I pulled out my DVD collection to do some further study. I then jumped online and ordered the rest of my sewing supplies – trimmings, wigs, fabrics, shoes. I then broke down the costume into all the different components that I would be making – skirt, bolero, wig/hat, bra. It makes it easier for me to get a handle on everything that needs to be done.

First up the skirt. I drafted up a simple 10 gored skirt pattern using a wonderful formula that I was taught back in my days of TAFE (see link). However instead of making the skirt fitted at the waist, I added in ½ my waist measure for some extra fullness. I wanted the skirt to float and the original seems to sit gathered under the attached yoke.

The skirt is made of alternating panels of dark and light green chiffon. I went with synthetic as most of you will know, attending conventions can be hell on the costumes and it is much cheaper. Each panel is sewn to the next with a zig-zag seam finishing on the inside. I then machine hemmed it. In hindsight, I would have used the rolled hem function on my overlocker to do the hem, however at the time, I didn’t even know my machine could do a rolled hem * forehead desk *. The yoke section of the skirt is a separate piece. I can’t say that I used any particular pattern. I just took my measurements and drafted up what I wanted. The front is cut on the fold, the back with a seam (for zip insertion) and some curved side seams so that it sits over my hips neatly. A couple of mock-ups later and I had my pattern pieces. The piece is made separate with trim machine applied, while the skirts are sewn to a separate curved waistband and whipstitched to the lining layer of the yoke. It allows me to easily remove the pieces and adjust size.

The only change that I will be making to the costume is to make a petticoat layer out of my leftover chiffon. I didn’t realise the skirts were so sheer and even though I was wearing dance tights underneath, still felt a little too revealing for my taste.

Then came the bolero. I searched through my commercial patterns and found a couple that seemed to have the right sort of design and seam placement. The main change I had to make to the pattern was to add short capped sleeves that curve and to curve the front of the bodice so that it would skim the front of me without meeting. Again, it is made with velveteen and lined in cotton. I tried to keep the bodice all cotton so that it would breathe a little better in the summer heat of Queensland. It’s fully lined so I don’t have to deal with the fluff that velveteen produces. To finish it off, I stitched on the trim and a couple of my purchased tassels.

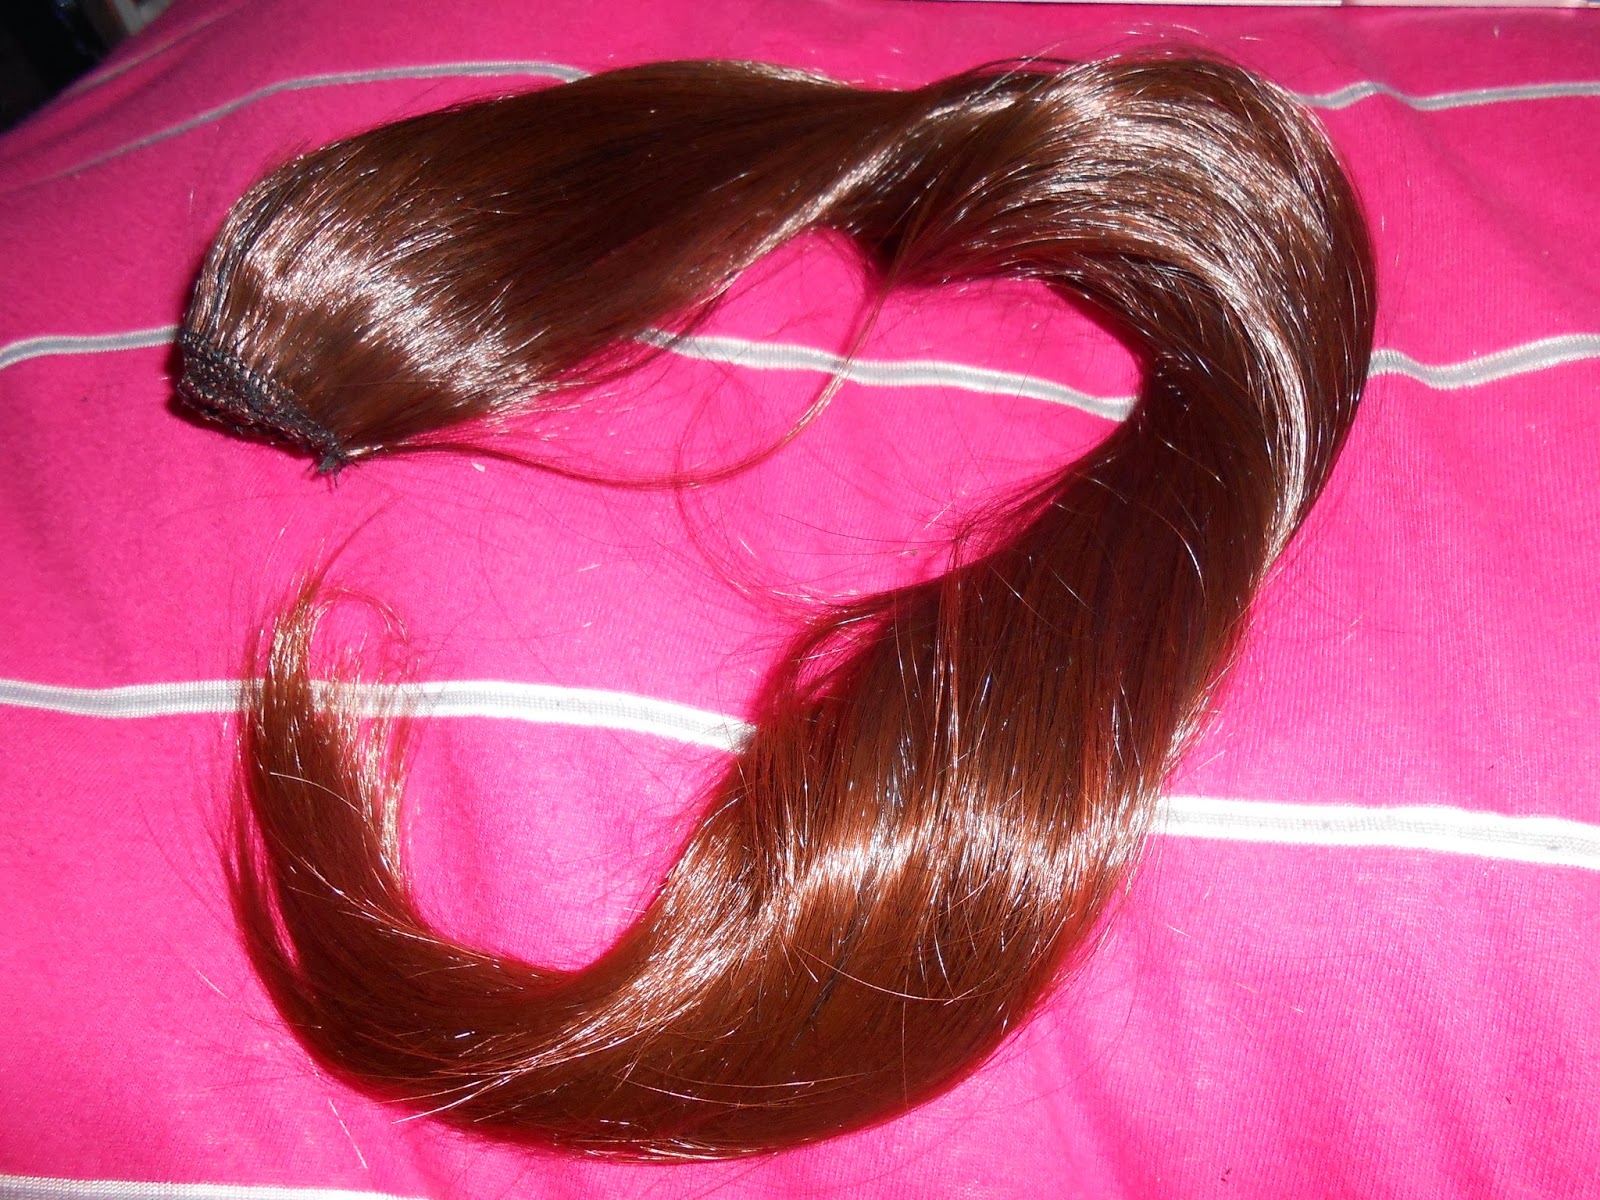
I then decided to work on the hat and wig. I’ve done a lot of work with wigs in the past, so wasn’t too worried about putting it together. Likewise, the hat didn’t scare me as I have done my dash with millinery on all my historical costumes. What worried me, was putting the two together. I decided to make two pieces that pin together. The hat and the wig. The hat pattern I self-drafted on a bit of A4 paper. Putting the pieces together until I got the right shape and height. I then made my buckram and wire frame which is whipped together. I added a mull layer of some wool I had left over from another project, and then my layer of velveteen. I then added elastic tabs – the purpose being to pin into the wig. I decided to finish the inner edge of the hat with a piece cotton twill tape – to encase the raw edges of the evil fluff of the velveteen. The next step was the trimmings. I started with the rows of trim and tassels. I then cut up two of the wigs I bought for the project and created two plaited sections, these were then stitched onto the bottom of the hat. If I was doing this again, I would try and buy one really long wig piece to plait. It was a nightmare to get the two plaits merging well so that a distinct line wasn’t visible. My reason for using two shorter wigs – they were $8 each.

The next step was to use some more of the wig pieces to create the ponytail for the top of the wig. It, as well as the gold wrapping is stitched into the centre hole of the hat. The piece just fits in snugly so that both force and my stitching hold it in place. I then made the net pieces out of my gold wire and tacked it in place. This is where the overlocker came back in – I tore off a strip of my chiffon, rolled hem the ends (worked out how to use that after owning the machine for 15 years), and tacked it in place on one side. The other side wraps around my face and just pins in place into the wig. As for the base wig, I popped it on and trimmed up the chin length fringe. I the created a twist in the back that ends in a bun which the hat is then pinned over for wear. It actually works well, and I’m able to restyle the base wig if it gets messy after use without destroying the hat.
And yes, the hat is entirely hand-sewn. I learnt very early on not to use glue in millinery. If you use glue on one layer, you will later find out if you try and sew on another layer, that the glue is hampering your efforts.
The bra was the next part I dreaded tackling. I looked to bellydance websites and how they create bras. Essentially, you start with one that fits you well and cover it. So, that’s what I did. I got out a bra that I liked the fit of and cut off the sides, straps and trimmings.
 I then covered it with a lining layer of green cotton, to base the chiffon. Unfortunately, because of the wire and foam cups, the entire process had to be completed by hand.
 After lining the cups, I pinned on the chiffon, hand-gathering it up to fit the cups. I stitched it down and then repeated it on the bottom. I finished each edge with a strip of bias chiffon to bind.
 The hard part over, I then made straps. I added boning in the side seams to keep the sides from bunching up, and hooks and eyes at the back to tightly secure the bra to me. The shoulder straps are sewn towards the centre in the back to keep the straps from falling off my shoulders. I decided to make the bra fit very tightly to eliminate the threat of movement throughout the day. And while I can’t put the bra on by myself, I’m not scared that someone will get an eyeful when I am wearing the costume. To finish it off, I added my trim and tassels.

The final part of the costume was to dye my shoes and create my jewellery. When I was buying my shoes online I could only find ones in a perfect style and fabric in a teal blue. If I wanted the correct colour, the style was wrong. So, I decided to try my hand at dye. I purchase a green idye packet, dissolved it in some hot water and sponged on the colour to the shoes. It worked quite well, darkening them to somewhere in the vicinity of the colour I needed.

For my jewellery, I trawled around all the costume jewellery shops in my local area. Lovisa proved the best for my collection. One of my necklaces I had to create by pulling apart two purchased ones but it worked out well in the end. My biggest lesson here, is do NOT tell the shop assistant why you are buying so much jewellery. They just don’t understand.
I guess the other lesson I learnt from this costume is do not underestimate hand sewing. Yes, it is time consuming, and yes it is a pain, and yes, you will kill your fingers, but it is worth it in the end. I am very pleased with how my costume turned out and I guess the biggest compliment is having Barbara Eden herself love it.