


In the end I decided to butcher one of my 1850s victorian stays patterns that I knew fitted. It was a matter of merging corset pieces together to create a front and back and drawing out the bust and waist shaping to give myself gores which would replace these. It's hard to explain how I did it, but it did work. These are the pieces laid out. There's a front, back, back hip gore, front hip gore and two bust gores.


So, here we go, how I made my 1830s corded stays...
First up, I stitched my centre front pieces together. These stays have a wooden busk down the front instead of a separating busk, so they go on over your head. Hence, stitched centre front. I then used bias binding on the underside to create a pocket for the busk. My busk (scroll down for pictures) is just a wide wooden ruler which I have sanded back to remove the numbers and smooth off, then cut to length and rounded the corners.

I then worked on my bust gores which I had decided to quilt. I used a couple layers of cotton and sandwiched them with some bamboo wadding from my stash. It was then a matter of drawing in the lines (2cm apart) and then stitching them.


Next, I stitched in the bust gores. They can be tricky, but once you get the hang of them, they do go in pretty easy. First you cut the slit down for the positioning of the gore and then snip at 45 degrees from the end so that you have a little triangle. You then fold back about 6mm - 10mm of fabric on each side and press it down. This is what your seam allowance. Line up the edge of the gore and pin in place. Then you top-stitch the gore in place. And repeat on the lining pieces (yes mine is made out of Ariel print cotton).


I then stitched in the hip gores. The back one is applied in the same way (just not quilted) whereas the front one it stitched in the seam between front and back pieces. It's a bit easier to apply - stitch to front and then stitch the whole back to it and then top stitch around. I then added in the boning channels which stitch down either side of the seam, splitting over the gore.


I then started on the placement of boning and cording. The cording I used is just a cotton cord that I picked up at bunnings (local hardware store). I used a couple of methods for applying the cording. The first was to sandwich between the layers and then using a zipper foot on my machine, stitching beside the cord to hold it in place, which I did for the centre front as below.


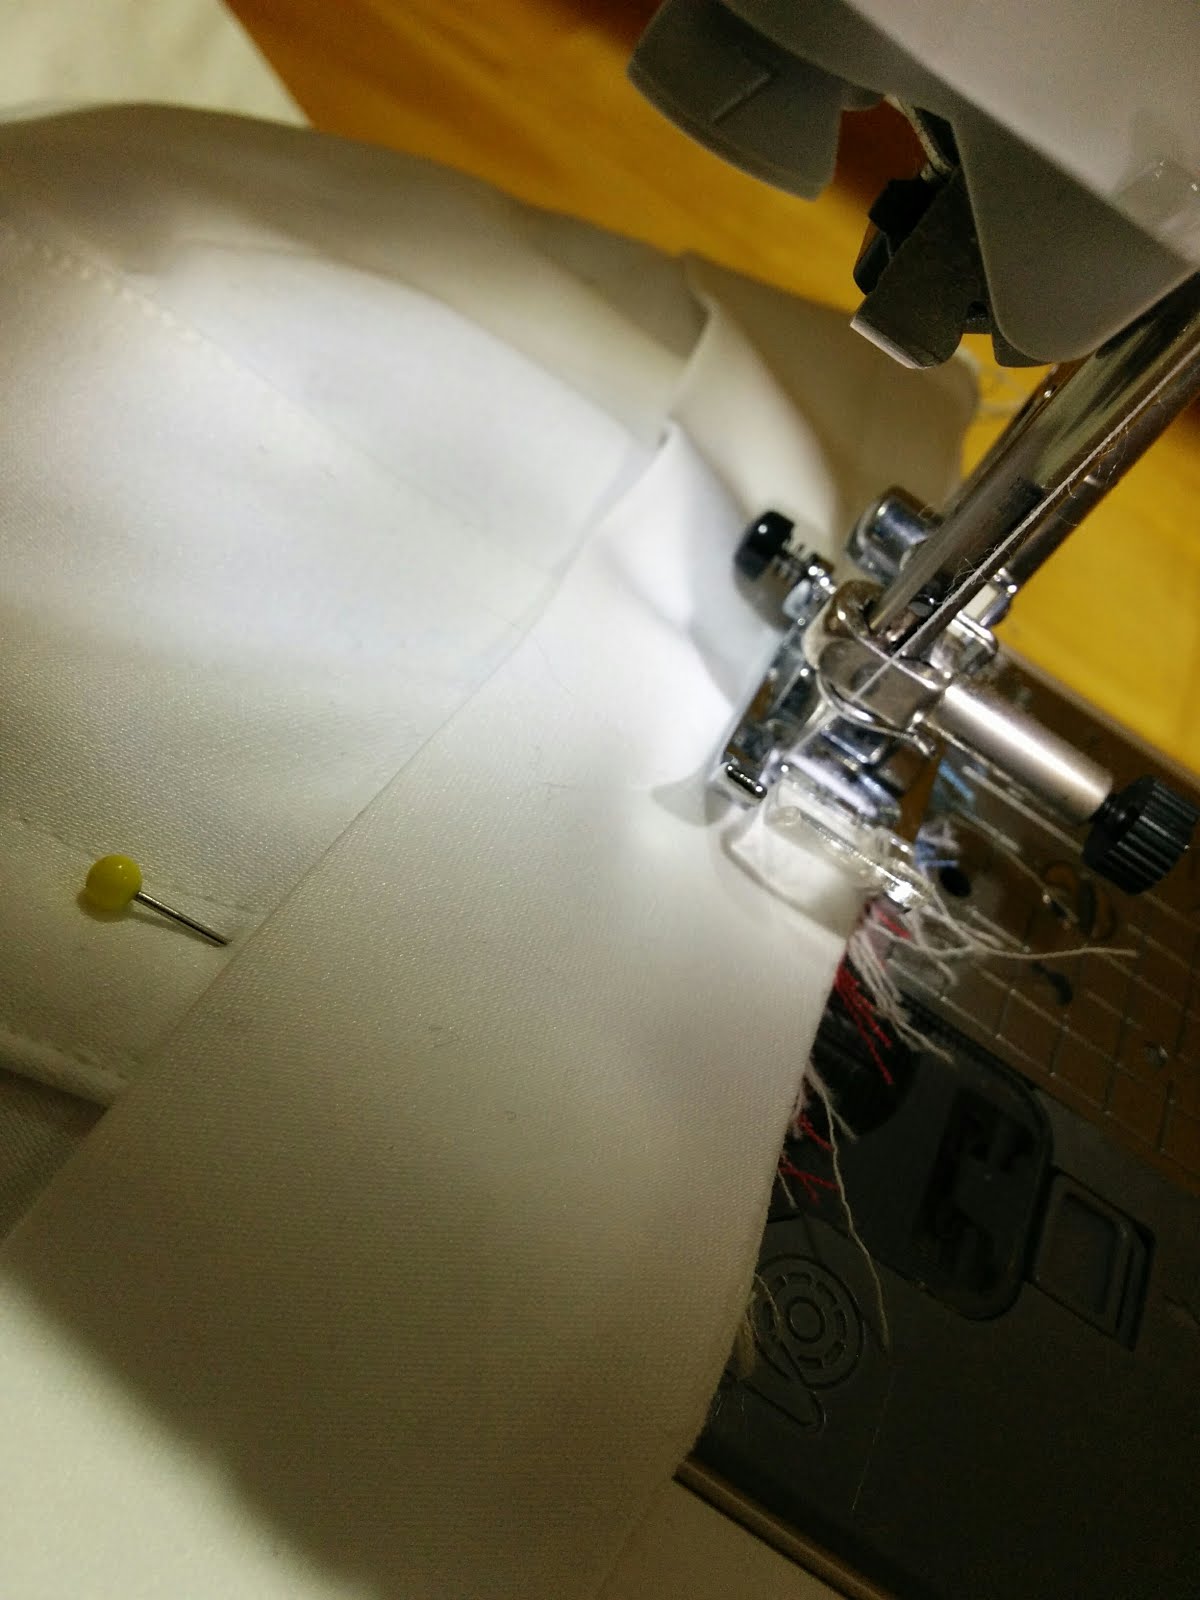
Then I got the centre back ready to go. I'd cut a facing piece of the white cotton to be the edge, so stitched that to back, understitched it down and then created a boning channel, an eyelet channel and another boning channel (it's how I always finish my corset backs).


I then started putting in all the cording channels - stitching 6mm lines to be later filled with cord.


Some shots of my cording channels. There are a lot!


Then comes the cording part. Stuffing the cord in the channels. I got a big old needle, cut off the sharp end and sanded it back to round it off. Then, you poke a hole in the top layer of fabric with an awl at each end of the channel and thread through the needle with the cord. Once you cut off the extra ends, you just work the fabric back to close up the awl hole. And bingo, filled channels and you can't see the holes.


Then came some decorating. I added in some pretty little flowers in my Ariel embroidery colours and stitched the bottom of each gusset for re-enforcement.


Then came the lining, stitched to each facing panel on the back.

And finally, the finishing process begins - binding trimming all the edges to match; then bias made of the finishing fabric to finish the edges, stuffing in the boning and busk, and eyelets.


My final step was to finish it off with some flossing on the boning. I've never done flossing before but I knew that I wanted to make these stays pretty. I spent a hell of a lot of time deciding on a flossing pattern, and I'm happy with the one that I chose. Turned out very pretty. And then finally adding the lacing cord.


The finished product:


The only problem was that in the end my stays turned out too big for me (combination of weight loss and the fact that I always squish more with corsetry than I expect). They don't look too bad in the image except that there is a hell of a lot of room in the bust and I didn't feel secure. I've sold them on now and have a new set already cut out and ready to be made up - the time consuming part. Let's just hope that I have cut them down enough that they fit properly this time.