In November of 2012, I created a wig for my Princess
and the Frog, Lottie costume. This is a tutorial of how I used an old blonde wig to finish off my character. It was originally hosted on another blog, however this is where it belongs - in my costuming world.
To start off, research. Not too difficult for a disney cartoon, however going from a drawing to actual life is where the challenge lies. But then, this goes for creating the costume as well.
Once I had decided how I was going to go about creating this wig, it was simply a matter of getting stuck in. I was lucky enough to have a couple of blonde wigs already in my possession that I had decided to use for it.
I ended up doing the wig twice.The first time, I created a wire frame to support the height - as I do with a huge Georgian wig. Once I had finished the style, I popped it on my head and realised that it was way too big. So in the end, this is what I did.
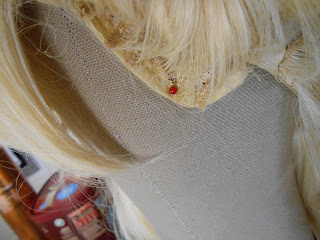
1. I popped the main base wig that I would be using onto my wig styling head and separated some long sections in the front out - this is to hide the building of the beehive. I also made sure that the wig was very securely pinned to the styling head so that it doesn't move once it is stretched to shape.
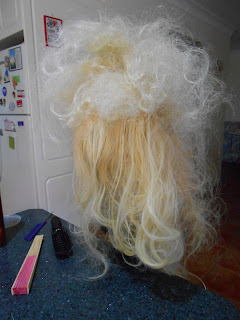
2. Next was to create a teased section of hair to use as the base of the beehive. I cut out a piece of the second wig, stitched it into my main wig and teased it to town and back. The trick with teasing wigs, is that if you want it to be permanent, go against all the rules. Plaster it with hairspray and run your comb back and forth to build up matting. I then tamed it down a bit with some bobby pins to get it into the shape that I was needing.
3. I then worked these sections into the general style. I took sections of the long wig, teased them at the roots and then worked them into the shape.
4. The next step was to smooth over the remaining hair to get a neat beehive. I used the ends of the draped over sections and created flat pin curls which I mounted on top of the style. This is not the way you would normally do a beehive, but with wigs, you need to be a little creative.
5. The difficulty with using costume wigs is hiding the base of the wig where the hair wefts are stitched on. I worked around this problem by draping the hair from the front around to the back where I overlapped it to cover any exposed wig. It's very important to hide the base wig as well as any open sections - especially if your hair does not match the wig. You don't want it showing through.
6. The final step was to take the back section and add it into the style. I couldn't find any drawings of the back of Lottie's hair and because of the huge collar, I was allowed a little creative styling licence for this section. I decided to do a neat roll that would twist up all the remaining hair while keeping a neat hairline on the bottom. It also helped to hide any further exposure of the wig in this area.
7. The final step was to trim off the ear draping curl sections, curl under the fringe - which I popped in large rollers with a coat of hairspray, then I simply brushed it out into place. To complete the look, I slid in my comb tiara.


No comments:
Post a Comment