Showing posts with label undergarments. Show all posts

Monday, June 19, 2017

Regency Bust Support

Next on the agenda was preparing for History Alive (my major annual re-enactment event) in early June. While I thought I still had everything together from last year, about six weeks out from the date, I realised that the stays I have been using for the previous years are no longer suitable. They no longer fit well - too small in the bust. But that's not so surprising given that I made them in 2011 and have changed shape quite a bit since then.

For these, I simply upsized the existing pattern. Giving myself a little more room in side seams and adding bigger bust gussets. I also added a bit more boning for bust support this time. They went together quite quickly aside from the eyelets, which need to be hand-sewn.

But it was well worth the work. They give a great period shape and provide a good about of support for my now E-F cups.

Monday, June 5, 2017

The Corded One

Corded petticoats are a great way of adding a lot of extra size to your skirts without the weight of more and more petticoats. One corded petticoat will add about as much as three of four standard petticoats. So, using one helps reduce bulk at the waist. The corded petticoat is the pre-cursor to the cage petticoat (or hoop skirts as they can be known). As skirts started getting wider, women were coming up with ways of reducing the number of petticoats. A corded one is quite easy to make, but very very time consuming and requires a lot of patience. Mine has taken months to finish and I really had to break it up with some other fun sewing in the meantime.

But onto how I made it!

Materials:
  • Cotton – I used an old 100% cotton double bed sheet. It’s quite a thick cotton and I’m glad I went with something sturdy as the cord can poke through.
  • Cording – I chose to buy fine sisal string from my local hardware store (Bunnings). It was a massive roll and very cheap. The only problem I did have was that the thickness does sometimes vary. I just worked with it. (The one on the right in the picture)
  • Thread – A large roll of white thread, maybe two. You will probably need it.
  • Zipper foot for your sewing machine
  • Patience – endless patience
Start by stitching the sides of the sheet together to form one long tube. Then fold in half wrong sides together and press (iron) the fold. This will be the bottom of your petticoat.

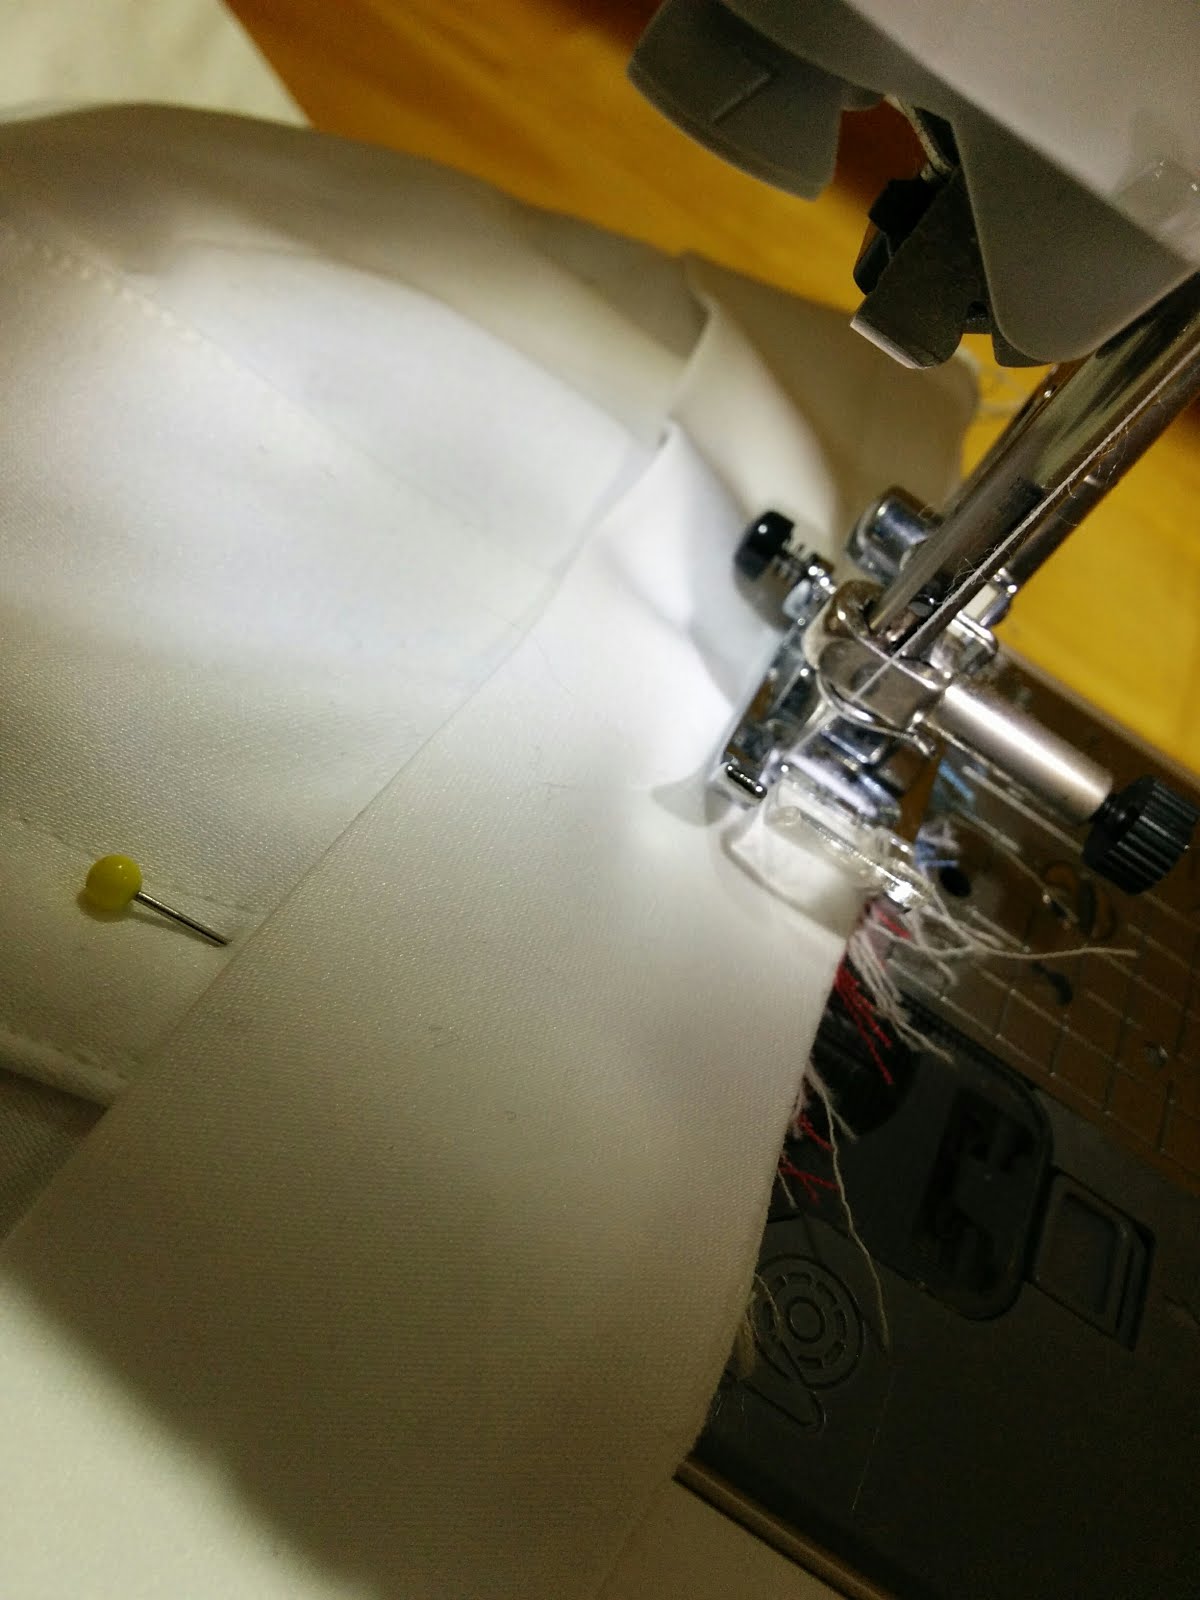
Put the folded bottom on your machine and lay the cord into the fold, using your fingernails to push it in tightly. With your zipper foot attached, start stitching beside the cord. As you continue around the tube, stuff more cord in and use your fingernails to push it in next the previous row of cord. You are sewing in a spiral.

Continue doing this until you have enough rows for your section. Trim off your cord and end the section.

Measure up from this section and mark where you want your next section to start (mine is about 5cm apart). Stitch around your line and then start again with the cord, spiralling up for the section.

It’s up to you how many rows and how many sections you do. Just continue until you are happy with the shape you are getting and the length. My petticoat starts with a section of 40 rows, a 5cm (or 2 inch) gap followed by 20 rows. Then another 5cm gap and 10 rows, with another gap and five rows, and finally another gap with five rows.

Once you are finished your rows or cording, trim the top of your petticoat down to the desired length. Now you need to decide how you will be doing your waistband. I have seen ones on a yoke, a waistband or a drawstring. I tried a yoke first, which then fit really badly (too big). I then decided to gather the petticoat to a waistband and use a drawstring to tie it up. But it really is up to you how you go about finishing the waist. The only thing to remember is that it should only hit at about mid-calf length – it needs to be shorter than your next layers of petticoat which in turn need to be shorter than your outer gown.

Tuesday, May 30, 2017

Petticoat Froof

While I haven’t been posting much over the last six months, I have still been working on a number of sewing projects. Namely, my 1830s undergarments. They’re now all finished and I am up to the task of drafting my gown pattern and beginning the embroidery. Of course, I’ve been procrastinating over this for the last few weeks since I finished my second set of stays. These ones...

After the evil fitting of the first set, I needed to cut down my next set to make them a little more suitable for my shape. I’m incredibly pleased with how these ones came together and the whole process was so much faster given that I knew what I was doing and what was next.

The other tedious part of getting the undergarments ready are the petticoats. The layers and layers of petticoats that help give the bell shape of the 1830s. So, here are what I have made to go over my chemise, drawers and stays:

1. Cotton petticoat. This is a lightweight undergarment that is used for warmth, modesty and to protect your legs from any roughness in the corded petticoat. Mine is made out of cotton voile. In fact, I pulled the fabric from the regency petticoat that I ripped last year.

2. Corded Petticoat. So much cord and so much time went into making this. But keep an eye out for a write up of how I went about it.

3. Bum pad. This is a stuffed tube with a few frills that ties on to help fill in the gap between the waist and your butt. It smooths things out lovely and helps give a good backward thrust to the skirts.

4. Cotton petticoat. Just adding on the layers now. This one has a bunch of pin tucks which help the bottom sit out nicely, adding fullness.

5. Cotton organdy petticoat. A super stiff cotton fabric that helps pop the fabric out really well. Again we’re going for froof, so the more the better.


I was going to add a taffeta petticoat as a layer to help stop the silk of the skirt sticking to the cotton, but the cotton organdy should solve this issue. I may come back and add one once I’ve finished the skirt, but I’ll have to see how it goes.

Saturday, January 28, 2017

Historical Ariel - The Stays

As promised, the next step in my Historically Accurate Ariel. The stays. I spent a long time researching 1830s stays - how they were constructed, the pieces to make the shape, the types of boning. There were a few the really influenced my design (from Jill Saleen's Corsets). To be honest, I spent the most time searching for the cording layouts.

In the end I decided to butcher one of my 1850s victorian stays patterns that I knew fitted. It was a matter of merging corset pieces together to create a front and back and drawing out the bust and waist shaping to give myself gores which would replace these. It's hard to explain how I did it, but it did work. These are the pieces laid out. There's a front, back, back hip gore, front hip gore and two bust gores.

So, here we go, how I made my 1830s corded stays...

First up, I stitched my centre front pieces together. These stays have a wooden busk down the front instead of a separating busk, so they go on over your head. Hence, stitched centre front. I then used bias binding on the underside to create a pocket for the busk. My busk (scroll down for pictures) is just a wide wooden ruler which I have sanded back to remove the numbers and smooth off, then cut to length and rounded the corners.

I then worked on my bust gores which I had decided to quilt. I used a couple layers of cotton and sandwiched them with some bamboo wadding from my stash. It was then a matter of drawing in the lines (2cm apart) and then stitching them.

Next, I stitched in the bust gores. They can be tricky, but once you get the hang of them, they do go in pretty easy. First you cut the slit down for the positioning of the gore and then snip at 45 degrees from the end so that you have a little triangle. You then fold back about 6mm - 10mm of fabric on each side and press it down. This is what your seam allowance. Line up the edge of the gore and pin in place. Then you top-stitch the gore in place. And repeat on the lining pieces (yes mine is made out of Ariel print cotton).

I then stitched in the hip gores. The back one is applied in the same way (just not quilted) whereas the front one it stitched in the seam between front and back pieces. It's a bit easier to apply - stitch to front and then stitch the whole back to it and then top stitch around. I then added in the boning channels which stitch down either side of the seam, splitting over the gore.

I then started on the placement of boning and cording. The cording I used is just a cotton cord that I picked up at bunnings (local hardware store). I used a couple of methods for applying the cording. The first was to sandwich between the layers and then using a zipper foot on my machine, stitching beside the cord to hold it in place, which I did for the centre front as below.

Then I got the centre back ready to go. I'd cut a facing piece of the white cotton to be the edge, so stitched that to back, understitched it down and then created a boning channel, an eyelet channel and another boning channel (it's how I always finish my corset backs).

I then started putting in all the cording channels - stitching 6mm lines to be later filled with cord.

Some shots of my cording channels. There are a lot!

Then comes the cording part. Stuffing the cord in the channels. I got a big old needle, cut off the sharp end and sanded it back to round it off. Then, you poke a hole in the top layer of fabric with an awl at each end of the channel and thread through the needle with the cord. Once you cut off the extra ends, you just work the fabric back to close up the awl hole. And bingo, filled channels and you can't see the holes.

Then came some decorating. I added in some pretty little flowers in my Ariel embroidery colours and stitched the bottom of each gusset for re-enforcement.

Then came the lining, stitched to each facing panel on the back.

And finally, the finishing process begins - binding trimming all the edges to match; then bias made of the finishing fabric to finish the edges, stuffing in the boning and busk, and eyelets.

My final step was to finish it off with some flossing on the boning. I've never done flossing before but I knew that I wanted to make these stays pretty. I spent a hell of a lot of time deciding on a flossing pattern, and I'm happy with the one that I chose. Turned out very pretty. And then finally adding the lacing cord.

The finished product:

The only problem was that in the end my stays turned out too big for me (combination of weight loss and the fact that I always squish more with corsetry than I expect). They don't look too bad in the image except that there is a hell of a lot of room in the bust and I didn't feel secure. I've sold them on now and have a new set already cut out and ready to be made up - the time consuming part. Let's just hope that I have cut them down enough that they fit properly this time.