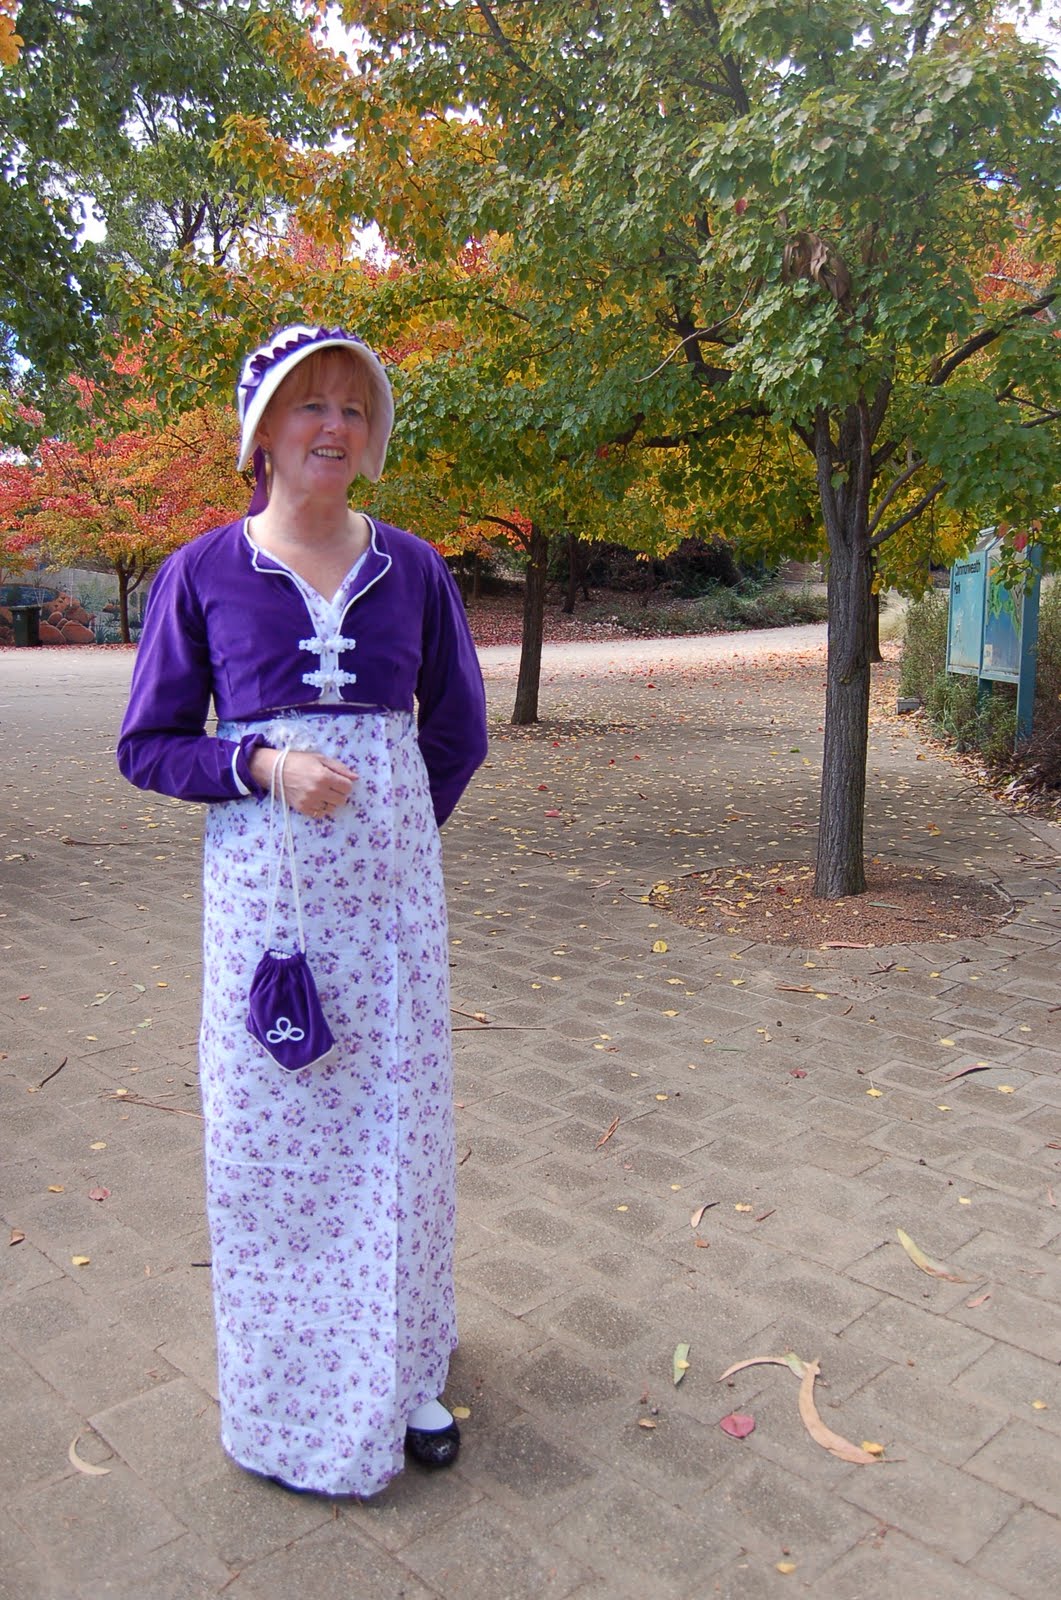
Below are the notes from my presentation that was given during the Friday program of the 2011 Jane Austen Festival...
Please note that this session is a demonstration on how to go about changing a standard pattern from “Sense and Sensibility Patterns” to get something uniquely different. In doing so, we will treat the factory pattern as a “block” guideline from which we will be tracing off the pieces and adapting them. These skills can easily be applied to other patterns.
I will warn you though, that pattern drafting requires a certain amount of spatial reasoning. Being able to imagine what a pattern piece actually looks like that will create your garment. Browsing historical patterns of extent garments will help you visualise the pattern pieces you would like to create. Believe me, it gets easier over time, and there are a lot of books out there that will help you.
Materials for pattern draftingThe list below is a guideline of the implements that I use for pattern drafting and a description of them.
Pattern
This is the factory printed pattern as it arrives and will be your block for drafting. Depending on your design, you may need more than one of the Sense and Sensibility Patterns (1). The three patterns most applicable to Regency are “The elegant ladies gown”, “basic gown” and “spencer” patterns.
Drafting Paper - There are numerous types of drafting paper on the market, however I like to use Burda tracing paper (in a pink packet) available from Spotlight and Lincraft for the larger pieces and a roll of unwaxed lunch wrap available from your local supermarket.
Pencils - I like to use a 2B pencil because it is a softer pencil that will not tear the drafting paper when your are tracing and sketching, yet it is still hard enough that it will not break too readily.
Pencil Sharpener
Eraser
Ruler - I use a pattern grading ruler, however any ruler would be suitable. I would however, recommend using at least a 50cm ruler.
Sticky Tape - To join tracing paper if your sheet is too small and when making further adjustments. I recommend a quality tape such as scotch that will allow you to draw on it with pencil.
Tape Measure - To check your measurements as you go. It is far better to measure twice, and cut once.
Scissors - Sharp paper scissors with a comfortable grip. A longer length set of scissors is best.
Before we begin
Put on your historical undergarments (or the undergarment that you intend to wear under your dress). They alter your figure quite a bit and give a different lift to the bust line. Take your measurements and note them down in a memorable place (not on a scrap of paper that you may just toss away by accident). Make sure that you note down both the inch and centimetre measurement as many of the patterns that we work from are American.
Measurements you will need:
Bust
Waist
Underbust
Hip
Shoulder to bust
Underbust to hem
Upper arm width
Sleeve length
Fitting
Like using the correct historical undergarments, having a regency dress that fits well really makes a huge difference in your appearance. Fitting your dresses all depends upon the style. But there are a number of key elements to making your dress fit well. A mock up (a trial out of cheap fabric) allows you to work out where your body shape differs from the commercial pattern.
Drawstrings - Many regency dresses are gathered and tie up with drawstrings. This allows for a lot of flexibility as you can simply pull in the tie to make the gown fit better. This also works on some of the more fitted gowns; by simply adding a drawstring underneath the bust, it will pull up any extra fabric.
Underbust-line / Bodice - Make sure that the seam where the skirts are sewn on sits in the correct position (under your bust). Nothing says ill-fitting like a gown with the bust-line sitting on your bust instead of under. If you have this problem, it is quite simply a matter of extending the bodice length. Slash the pattern piece across and the bust and spread out to add in the needed amount of fabric. You will most likely have to do this for the back pieces as well if they are sitting too high. This will also apply to those who are short in the body where the bust line is too long, slash your pattern and overlap the pieces to take out fabric. There are a few other places in the bodice that may need to be changed. If you are wider or narrower across the chest in front or back, you could again slash your pattern (vertically this time) and spread or overlap.
Sleeves - I have found that a lot of pattern sleeves are way too tight around my arm. To resolve this, slash your pattern in three places following the grainline and spread the pattern. You may only need the extra room at the top of the arm, so spread the pattern in a v-shape angle. The length of the sleeves is easily adjusted as well. Work out where you need the extra room (or to remove room) in relation to your elbow. Slash the sleeve and overlap or spread the pattern to add or remove extra. For ball-bodice armbands, simply measure your bicep and tailor the armband to fit (making sure to add seam allowance and a small amount of ease). You can then cut a large size of the puff sleeve to get the extra pouf.
Once you have adjusted the original pattern to suit your body shape, you now have a block pattern to work from. This pattern that you have adjusted is the standard pattern for your body. From this, you will be able to your new custom-fitted styles.
Drafting your pattern
Before you go straight into altering your pattern, you need to come up with a cohesive design. If you are using a fashion plate, make sure that you know how you want the gown to look both front and back. The best way to go about this is to make a simple sketch of both the front and back.
I have found it useful to look at pattern pieces of extent garments in drafting up a pattern. This will give you an idea of what shape the pattern pieces should look like when flat. I will also suggest that you familiarise yourself with the standard sense and sensibility patterns by making up a gown from an unadjusted pattern. This will help you to understand the different components of the garment and how they sit.
The first step is to choose the pattern that most closely resembles the gown you are trying to create. For instance if you want a bodice with a v-neck and gathering at the underbust, you would most likely use the cross-over gown bodice. Or if you want a high-neck gown that is full in the front you would choose the drawstring front gown. You can also use a couple of different patterns to get what you want.
You will then start the drafting process. Lay out your pattern pieces (you will need a large flat surface like a dining table or a tiled/concrete/wooden floor). Choose the pieces that you want to start working from first. I generally start with adjusting the bodice and sleeves before moving onto the skirts.
Make sure that you trace out all the pieces you will require - back, side back, front, lining and sleeve. Use a ruler to make sure that your measurements are even. When redrafting a curve, either use a set of French Curves to mirror the shape or mark out the curve with small measures and join the dots.
Making a skirt fuller is generally a simple matter of adding more room along the centre front fold line. This will allow for extra gathering, and can be done to both the front and back of the skirt pieces.
Remember to add seam allowances to any extra pattern pieces. (The standard is 1.5cm). You will also need to remember to remove seam allowance if you are joining pieces and changing seam lines.
Regarding Outer-garments
The same guidelines can be applied to the outer garment of the regency era.
The sense and sensibility spencer pattern does not necessarily match all of the gowns. The design with a lower bustline and fuller sleeves is more akin to the spencers worn in the late 1810s and into the 1820s. A very simple way of making the spencer more appropriate for earlier gowns is to raise the bustline and to take a dart of fabric out of the spencer sleeve above the elbow. The other way to remove the extra fullness in the sleeve is to start cutting down the shape in the seam. Just make sure that you leave
Mock up
It is also advisable that any time you make an adjustment to your pattern, you make a mock up. This is just a quick version of your garment to see that the pattern pieces fit together correctly and that everything is sitting in the correct position.
I keep a roll of cheap fabric on hand for my mock ups. You will just need to make sure that your mock up fabric is of a similar weight to your gown fabric. Please note that any stretch in your fabric will also change the results of the pattern.
Resources
1.
Sense and Sensibility Patterns
2. Patterns of Fashion 2, by Janet Arnold
ISBN: 978-0896760271
3. Costume in Detail, by Nancy Bradfield
ISBN: 978-0896762176
4. Costume Close Up: Clothing Construction and Pattern, by Linda Baumgarten
ISBN: 978-0896762268
5. Period Costume for Stage & Screen, by Jean Hunnisett
ISBN: 978-0887346101
Contact Details