Saturday, April 2, 2011

Supanova 2011 - Saturday

Phew! Pooped.

Day 2 of Brisbane Supanova - Saturday

I woke up this morning with a spring in my step. Pancakes for breakfast and the excitement was mounting. Most of all that I would finally get to wear my Stargate uniform. The weather does not really lend itself to such a warm costume, but it was well worth the sweat. I'm pleased with how it came together.
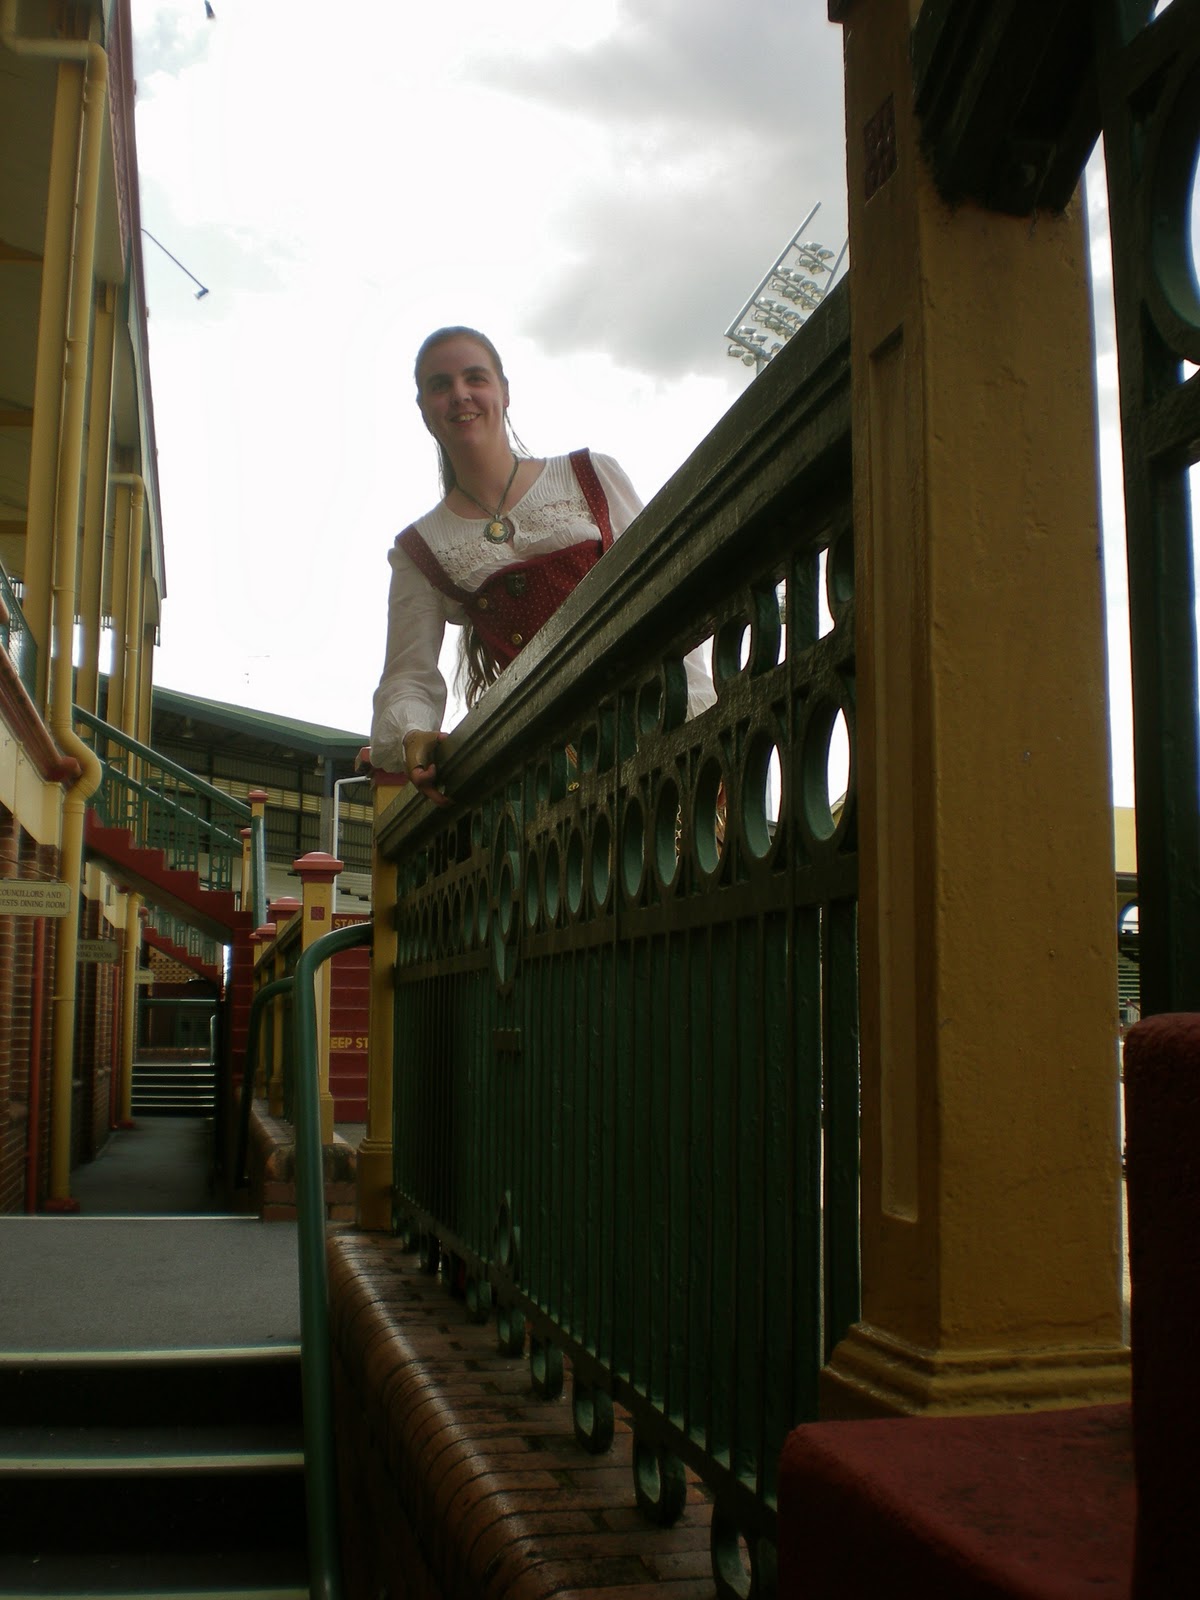
After lunch, I slipped into something a bit more binding - my steampunk costume. I have to thank my cousin for the beautiful shots and the fantastic location that she found. I was very pleased with how the whole ensemble has come up together. And I am looking forward to wearing it again some time - hopefully on a cooler sort of day.
And while my little camera was alive, I managed to get a few photos of some of the other many amazing costumes around.

Friday, April 1, 2011

Supanova 2011 - Friday

Supanova Day 1 - Friday night

I'm home. And pooped. I decided to re-wear my White Queen costume again. And as it turns out that was probably for the best. I really can't see me wearing it again. It hasn't worn well and is starting to fall apart. Not only that, it is getting a little too big for me. At any rate, I was glad to wear it one last time. And wonder of wonders it was actually recognised this year.
 There were a couple of big announcements made tonight though:

1. In 2012, Brisbane's April Supanova will be held on the Gold Coast in conjunction with the Gold Coast Film festival.

2. In 2012, they will also be putting on a Brisbane Supanova - in November.

3. And as it is such a long wait from April 2011 to November 2012, there will be another Brisbane Supanova held in November this year.

4. To top it off, Christopher Lloyd (Doc from Back to the Future / Uncle Fester from the Addams Family Movies) will be appearing at the November Brisbane Supanova, since he has had to pull out this April.

Should make for an interesting rest of the year. And, now I need to start planning my next set of costumes. :D

Key to what?

I'm not 100% sure if I mentioned this one earlier, but I have been in the process of putting together a cohesive steampunk outfit. And there is a deadline - I am intending to wear this on the Saturday afternoon of supanova (only 1 week away now!). In my original plannings, I really wanted to do something with keys. Antique keys in particular. I thank my cousin for coming up with the character for me. She is the key keeper of Bethlehem Hospital (or Bedlam as it had come to be known).

Let's get down to the breakdown. I am using a couple of pieces that I already have in my costume cupboard. The main carryovers are the underskirt (from an early bustle ballgown), my bustle frame and Victorian undergarments (drawers, corset, stockings, boots), and the bodice (from my packing padme costume. It has made this costume really fast to piece together, because I already had so much of the costume complete. The only part that I have really had to make is the overskirt and to decorate the hat. Everything else is just some simple trimmings. 

I have been on a bit of a key hunt, tracking down keys all over the place (etsy, jewelery shops, ebay). I want to be the sort of key keeper that has keys all over me. So far so good. I have keys sewn to the overskirt, a key ring for the back of the waist chaing, a key ring for the waist, keys on my hat, a key brooch for the bodice and keys for my boot laces. The thing I think I am missing is a cuff - one where I can keep more keys and pull them out on demand. (I am contemplating making this at a later stage). For now, I am pleased with how this has come together, but you will just have to wait for photos tomorros of how it all looks put together. I am actually rather excited about wearing it all.

Wednesday, March 30, 2011

Zat Painting Tutorial

The latest piece to finalising my stargate costume was to paint my zat. I found a very helpful guide online for how to go about painting the sucker. In the end I think it worked out rather well for me and I am very pleased with the final turn-out (at the bottom). But in the effort of share and share alike - here is my experience detailed out for those stargate fans interested in painting their very own zat. 
Preparation
Make sure that you allow yourself enough time to do all the painting. It does take some time to dry between steps, and the last thing you want is a rush job. You will also need to get all your tools in hand.

Tools

1 x resin zat - I picked mine up on ebay. It wasn't cheap but it was a good job.
Workspace with lots of newspaper or old painting sheets to cover
Dust mask for sanding
1 x spray can of black primer (bought from Supercheap auto - cheap black paint)
1 x spray can metallic paint of your choice (again from Supercheap auto)
1 x can of Matt sealer (from eckersleys art shop)
Acrylic paints - purple peal, teal and black
Paint brushes - 1 very tiny, 1 angle brush
Superglue
Sandpaper - fine and very fine
Metal files / rasp

Step 1 - remove casting excess

My zat cast came with an excess amount of resin from the pour process. To remove this, I got stuck into it with a rasp to get rid of the bulk, and then tamed down to a softer metal file, before finishing off with some sandpaper. You will also need to sand down the excess on the tail. 

Step 2 - smoothing
I then got stuck into my zat with my fine sandpaper to smooth off the seam lines. It didn't take long and was well worth it in the end. If you need to fill holes in you resin weapon, you will need to do so and then sand back for a smooth finish. 

Step 3 - washing
Wash the zat. Warm water in the sink and a small amount of soap suds. I then dried her off and left her to completely air dry overnight. I used a soft scrubbing brush to help make sure that all the fine sanding was out of the grooves. 


Step 4 - prep the work area
Make sure that you more then adequately cover your work area, or this will happen. Over-spray. Not nice and a pain in the butt to get off whatever you sprayed on. After the newspaper failed me, I dug out an old painting sheet and worked on it instead. 

Step 5 - priming
Keep it in light layers. I had to go pretty heavy with my primer or undercoat as my resin model was cast white instead of black as some others on the market are. It wasn't really a problem, but just made me realise how important this really is. Because if you don't get a good covering of your primer, your colour layer will not go on as easily. If you do go in light layers, you will only have to wait for a couple of minutes between layers of paint. (Just don't do it on a wet day like me). Make sure that you cover every single part of the zat and don't forget the tail part. Once done, I left it overnight to dry completely.

Step 6 - painting

Again, light layers. It is very easy to go too heavy, but you really do not want any dribbling or spray marks from getting too close or putting on too much paint. I was amazed at how much colour goes on in only a couple of light layers. Again, make sure the you get every single nook and cranny with colour. Again, I left it overnight to dry completely. 

Step 7 - detail paints
This is where you will need a comfy chair to sit down and get stuck into it all, as it really does take a while to get done. I used my small angle brush with my pretty purple paint. I ended up with three light layers of paint - which was just perfect to cover. Once that is dry, I added the black paint on the bend. And finally, the veins. This is where the teal paint and the tiny brush come in. I have read of some people using toothpicks to put the paint in, but thankfully as a makeup artist I am quite used to painting fine lines. It didn't take me too long, but I did find that I could not use the paint straight - it was too thick. So I just mixed it with a tiny amount of water. 

Step 8 - sealing
Back onto the painting sheet and a couple of light layers of the sealer. The idea with sealing is to stop any paint rubbing off on costumes or hands. 

Step 9 - attaching the head piece.
Superglue. I was really lucky with the head piece of my zat in that the join was where both of the zat pieces were poured. Meaning that the bubbles and slight pour marks left over around the area would be covered. The only thing that I stuffed up was the amount of glue that I used. My superglue ended up oozing down the side of my zat and when I pulled it off, there went my paint. I wasn't really impressed, but managed to touch it up with a paintbrush and a smidge of my spraypaint on the can lid. Like you would for a car touch-up. 

I'm rather pleased with how it has come out in the end though. And very excited to pull it out for photos this weekend.

Tuesday, March 29, 2011

Do you acessorise too?

In a previous post, I mentioned that I would be making some accessories to go with my regency ensembles for JAFA. And of course, as a last thing if I had time. Well, it turns out that I have found the few minutes that it takes to whip up some reticules etc.

First one, for my ballgown. What would be a ballgown without some pretty decoration? I was pretty lucky when I hit spotlight, I managed to find some pre-made satin flowers that were an almost perfect match for the satin in my dress. The only way that you would be able to tell the difference was if they were side-by-side. Not a problem when they are going in my hair. I am mainly intending to shove some of the flowers in whatever hairstyle I decide for the evening, however I did make one comb that can slide in. I just hot glued some ribbon around the edge and then glued on some black and purple flowers along with some velvet leaves. I had thought to glue on the feathers, but worried that they might sit in an odd fashion, so instead I will just be shoving those into my hair on the evening as well. And as for the reticule, it looks a little odd. I was going for a style to match the dress, loosely gathered chiffon on the top and tightly gathered at the point. It turned out looking a little strange. But not to worry, it will serve the purpose. It's just a very simple drawstring little bag the reflects the gown. 

Then there was my blue cashmere spencer. I felt that a bag would be very handy with this one as well, and since I had an abundance of fabric left over, a bag seemed the ideal use. This one is even simpler than the others, you can however see the shape of the bag this time (they are all made on the same pattern). 
Finally, there is the red linen open robe and white gown. I decided to keep this one in the red and white theme. It's made out of the leftover red linen from the robe, but I decided that it would be nice to spruce it up a little with a smidge of embroidery. I grabbed out my silk ribbon stash and got stuck into it. It really is quite simple, I have done the simple leaves in green, then some white ribbon roses and finally a few white embroidery cotton rosettes to finish. I decided just a small smattering would be enough to dress it up. 
I am glad though that I found the time to put these together. It just somehow makes me feel more put together. And I know that if I didn't get them done now, I wouldn't get them done at all. Not that it would really be that bad, I tend to use my basket most of the time anyway.